
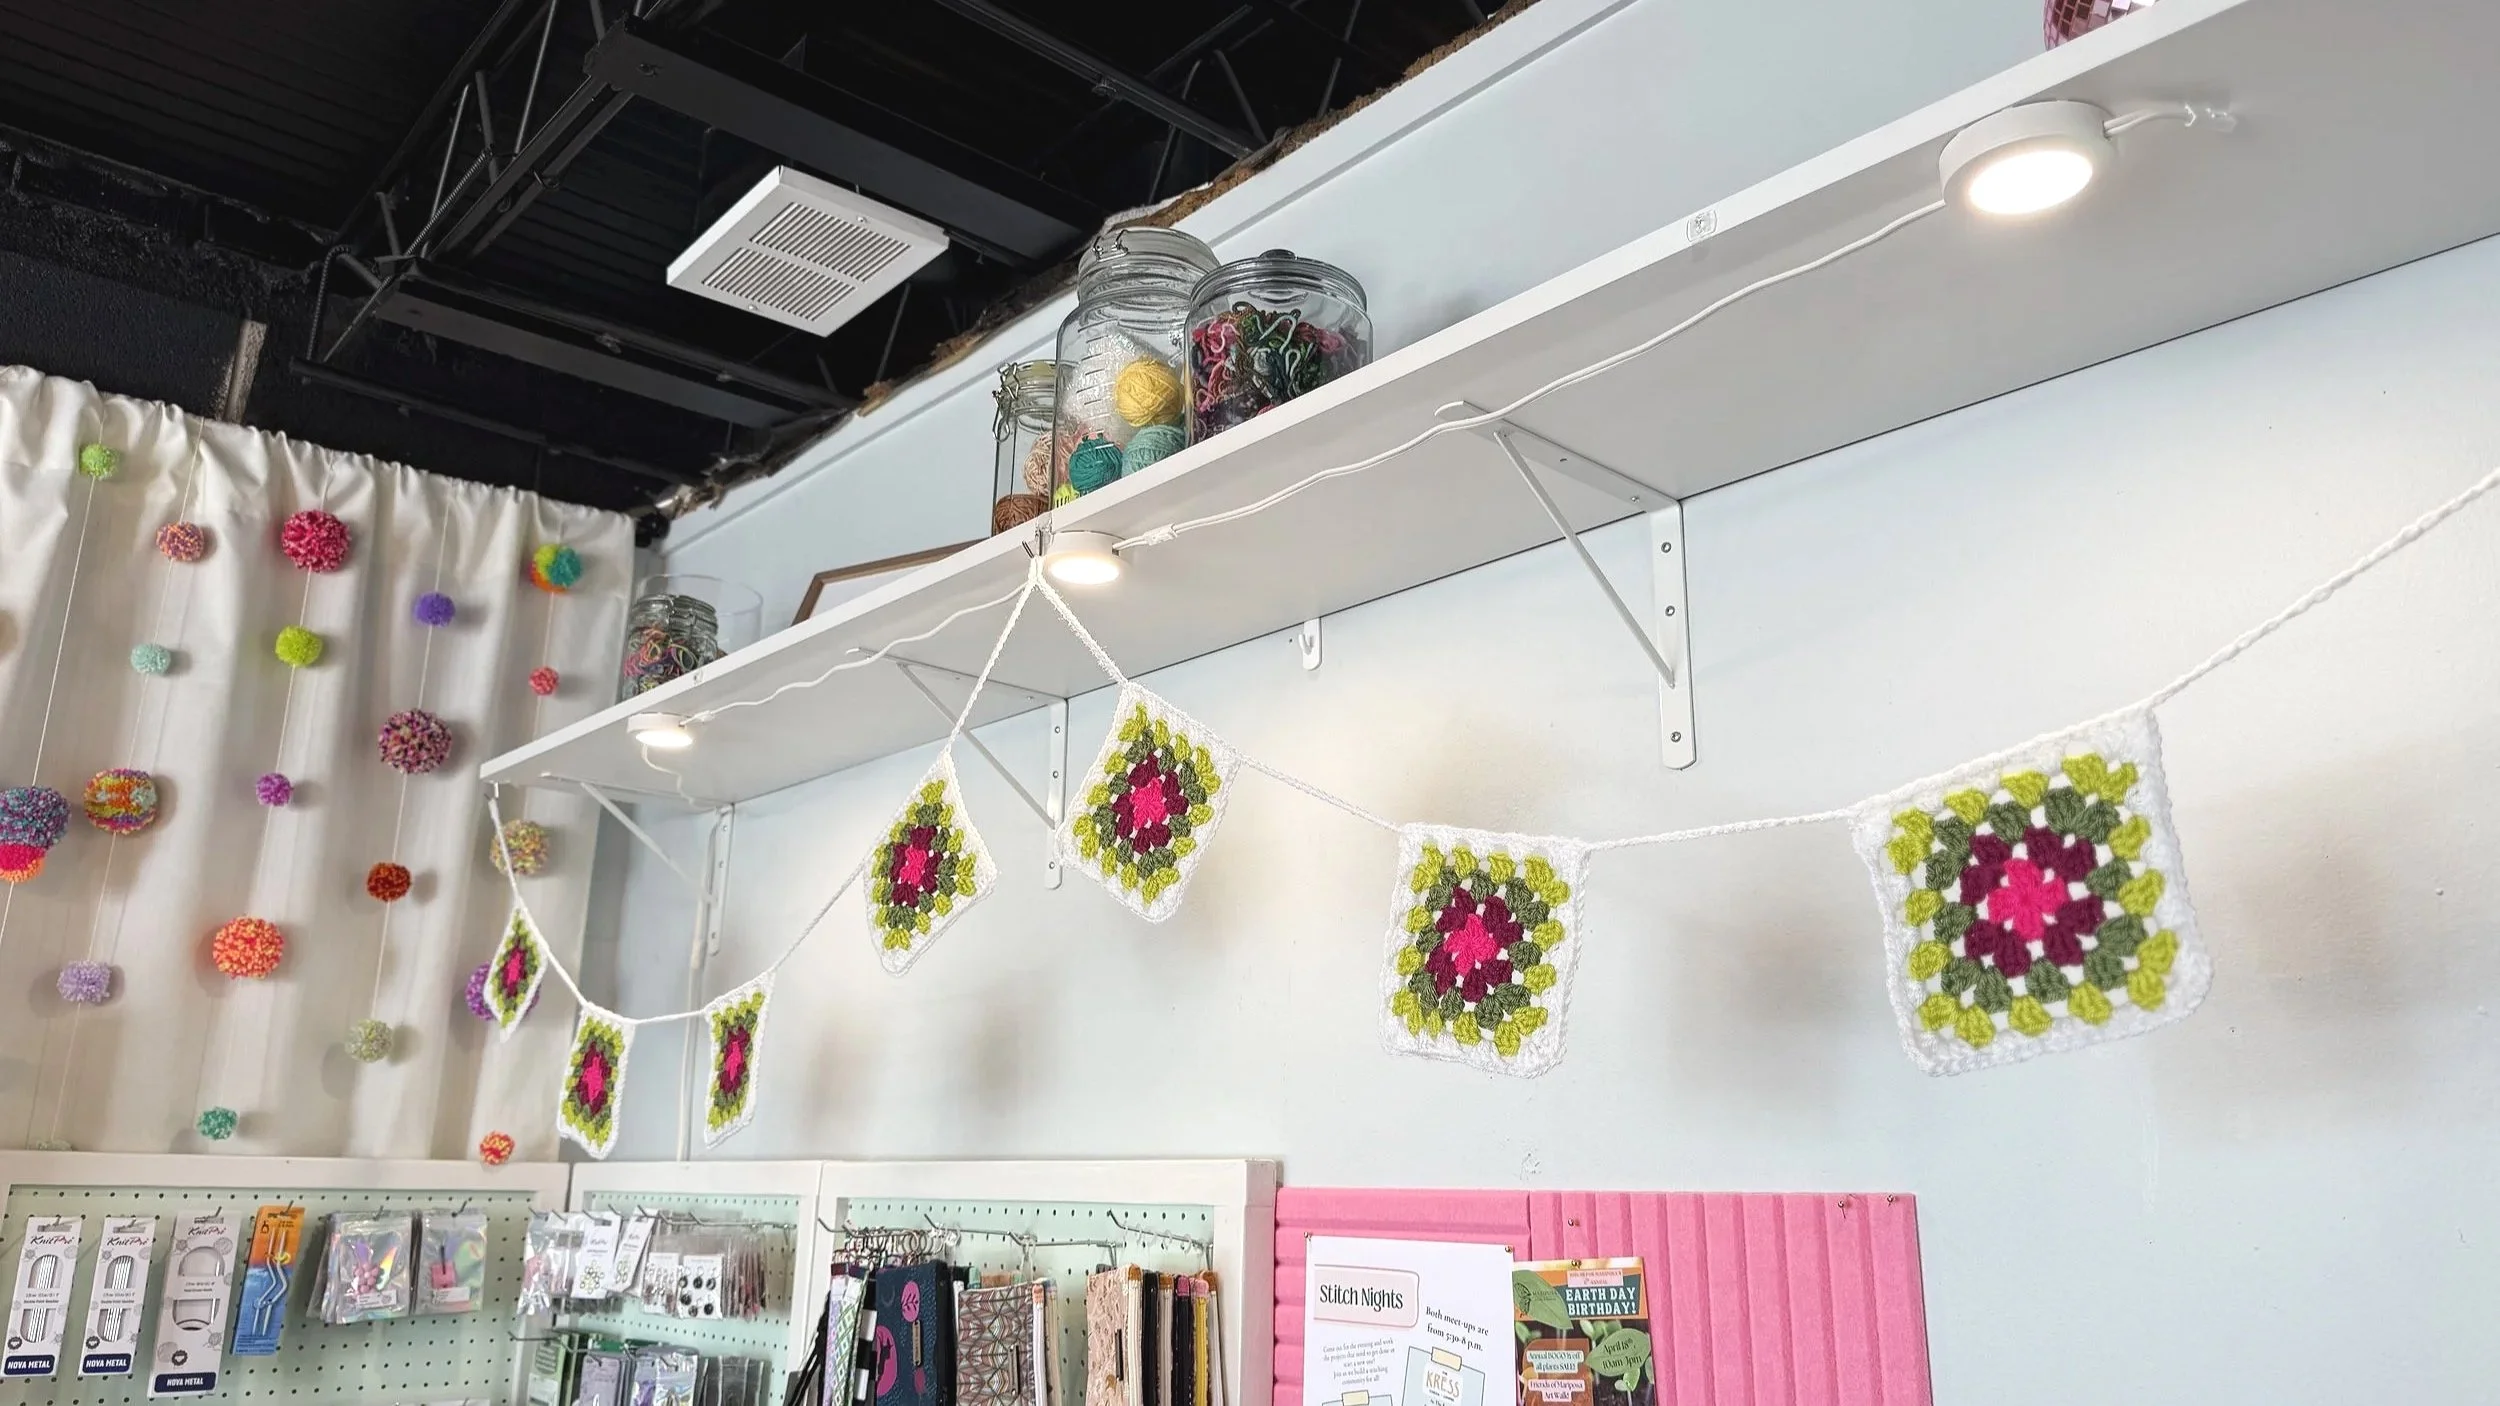
Granny Square Bunting
Hiya folks, so excited to be back and creating patterns again!
This Granny Square Bunting is a creation I made to show another way that my students in beginning crochet can use their granny squares as they grow and develop their crochet super powers!
It truly is so simple and so customizable too! A crochet artist can make their squares really with any yarn and to any size that makes sense, all be it that they keep in mind the spacing and drape of the finished bunting. Make them to big or to close together and they will probably over lap… wanted to give that pro tip because I have done that before testing out the layout and drape and was sad when the squares sat on top of each other. SO before you hide your ends in, audition your buntings layout in the desired space and make adjustments in the chain spacing.
Alrighty then! Lets just get to it…
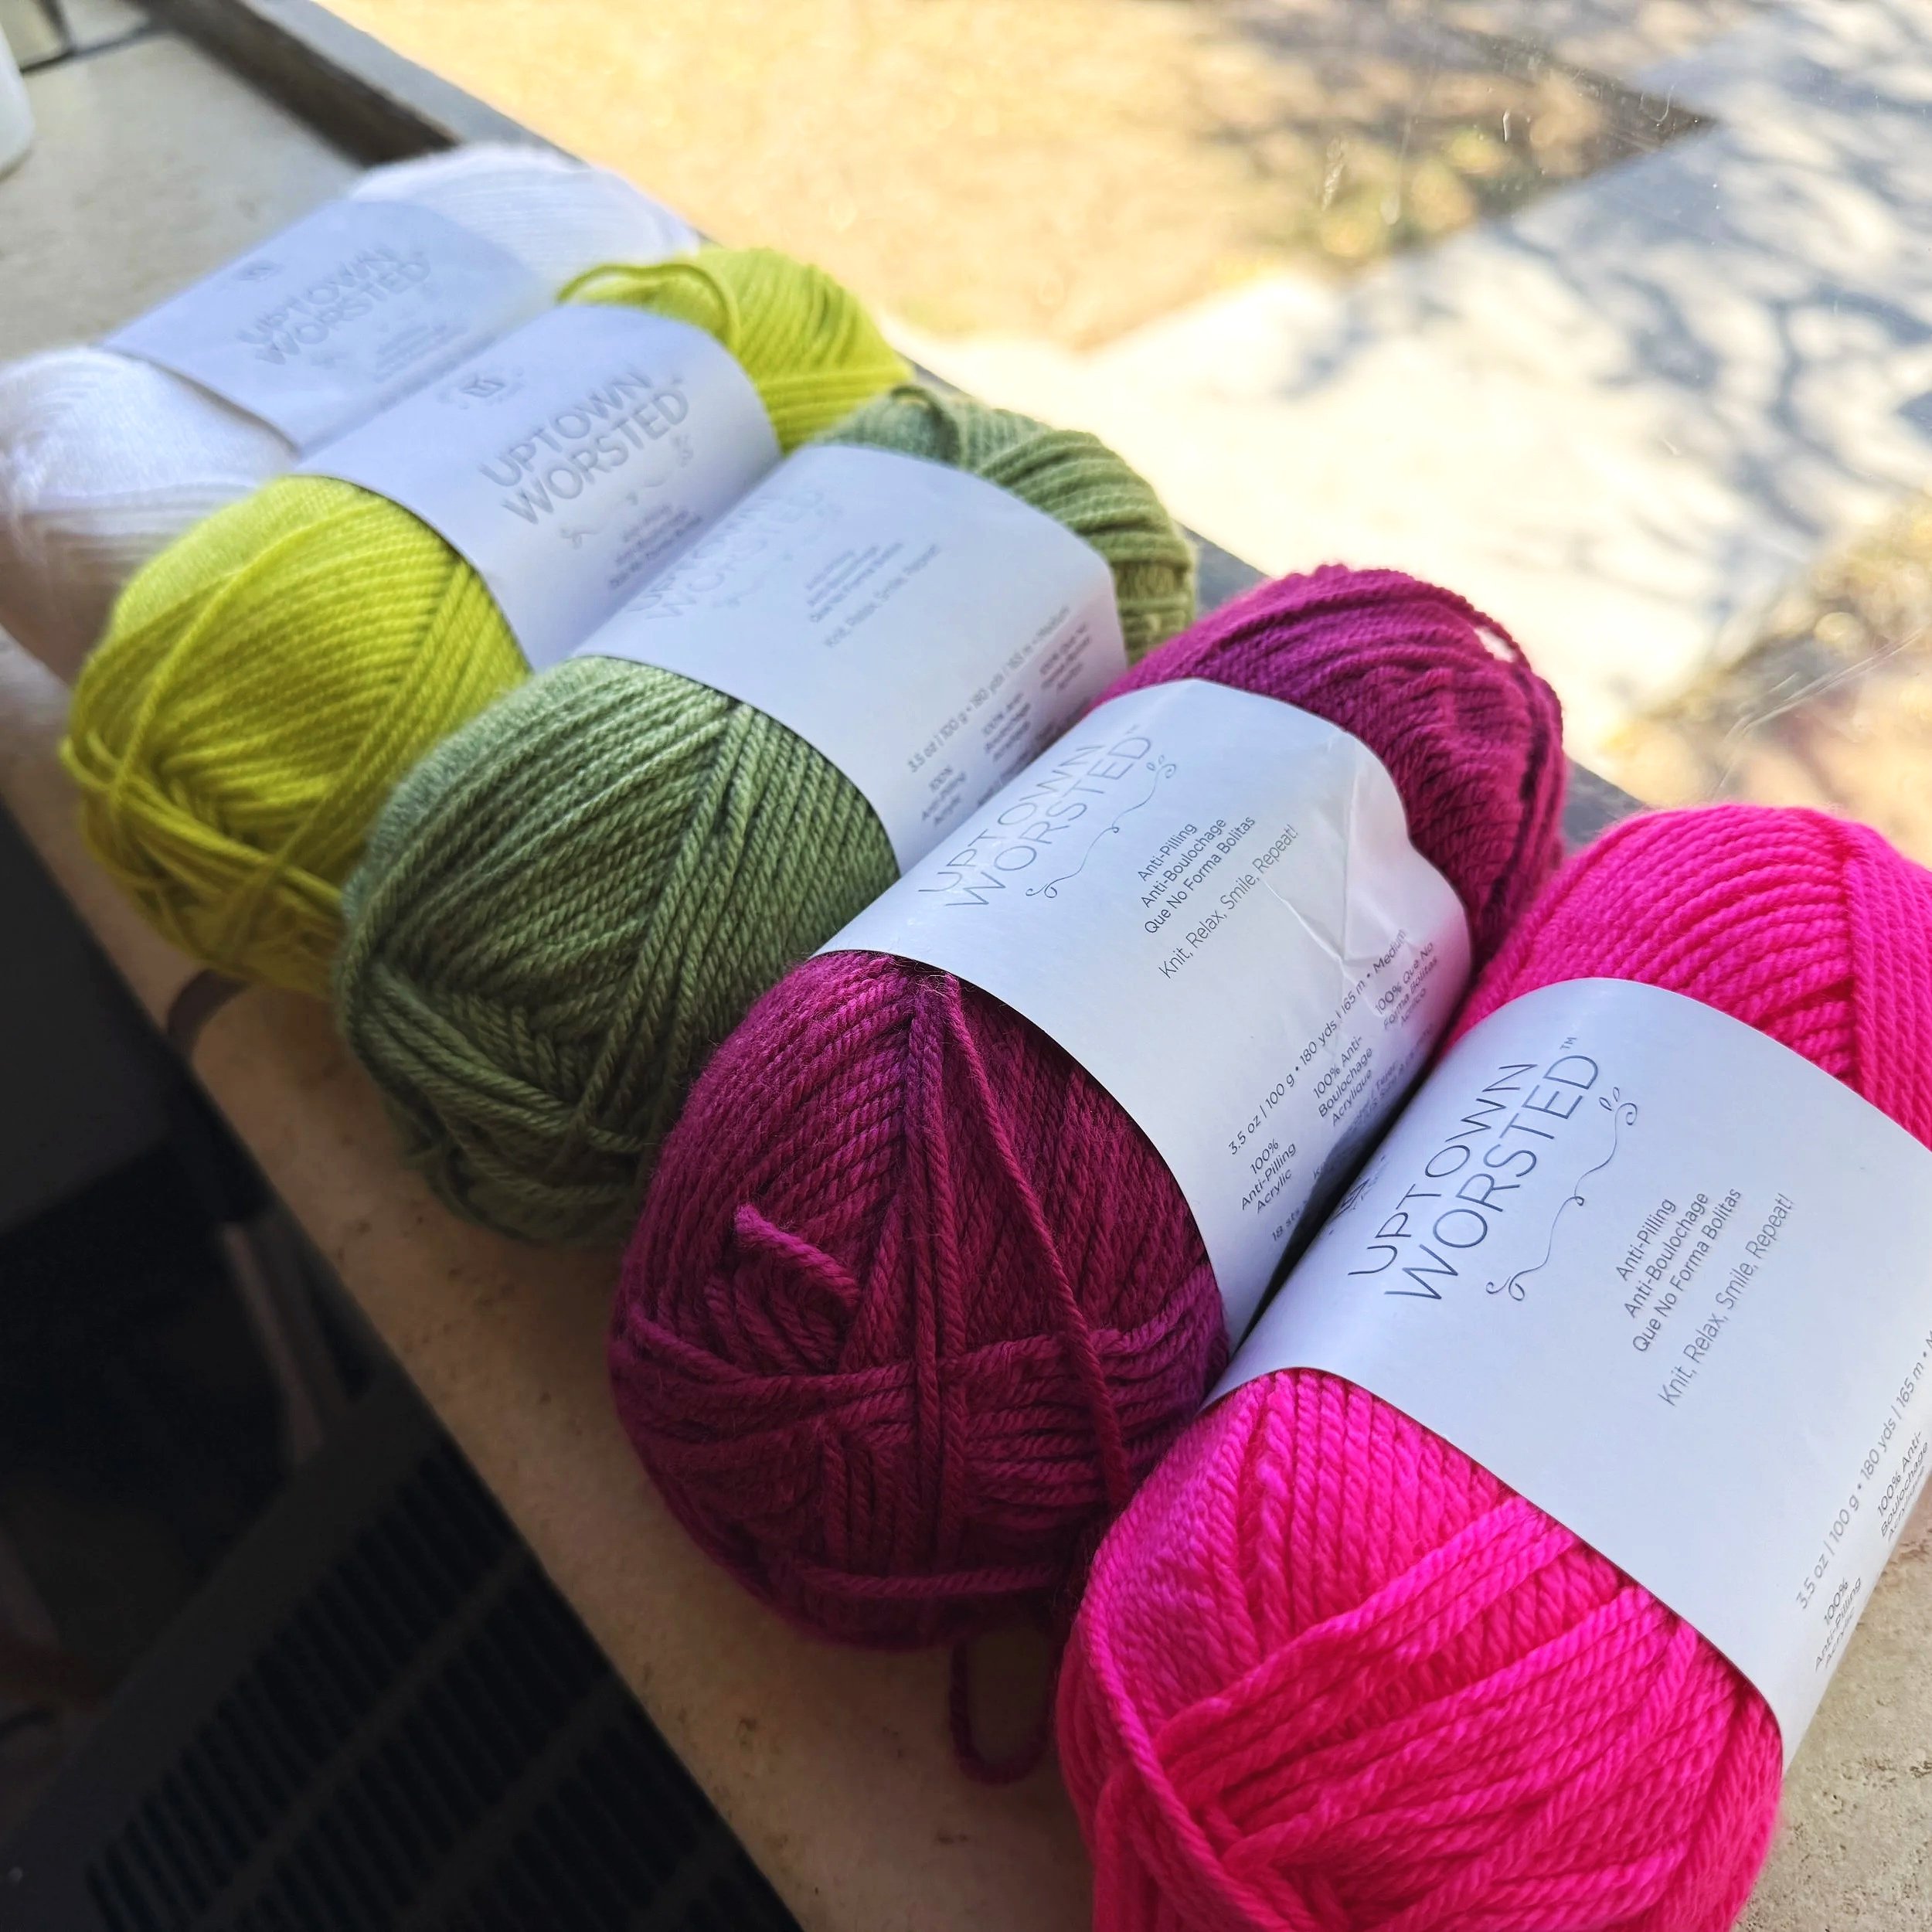
S U P P L I E S: (My granny squares ended up blocking out to just around 5” x 5”)
Uptown Worsted by Universal Yarn in colors: 342 Bright Salmon, 311 Cherry, 361 Olive, 350 Bright Lime, 302 Bright White
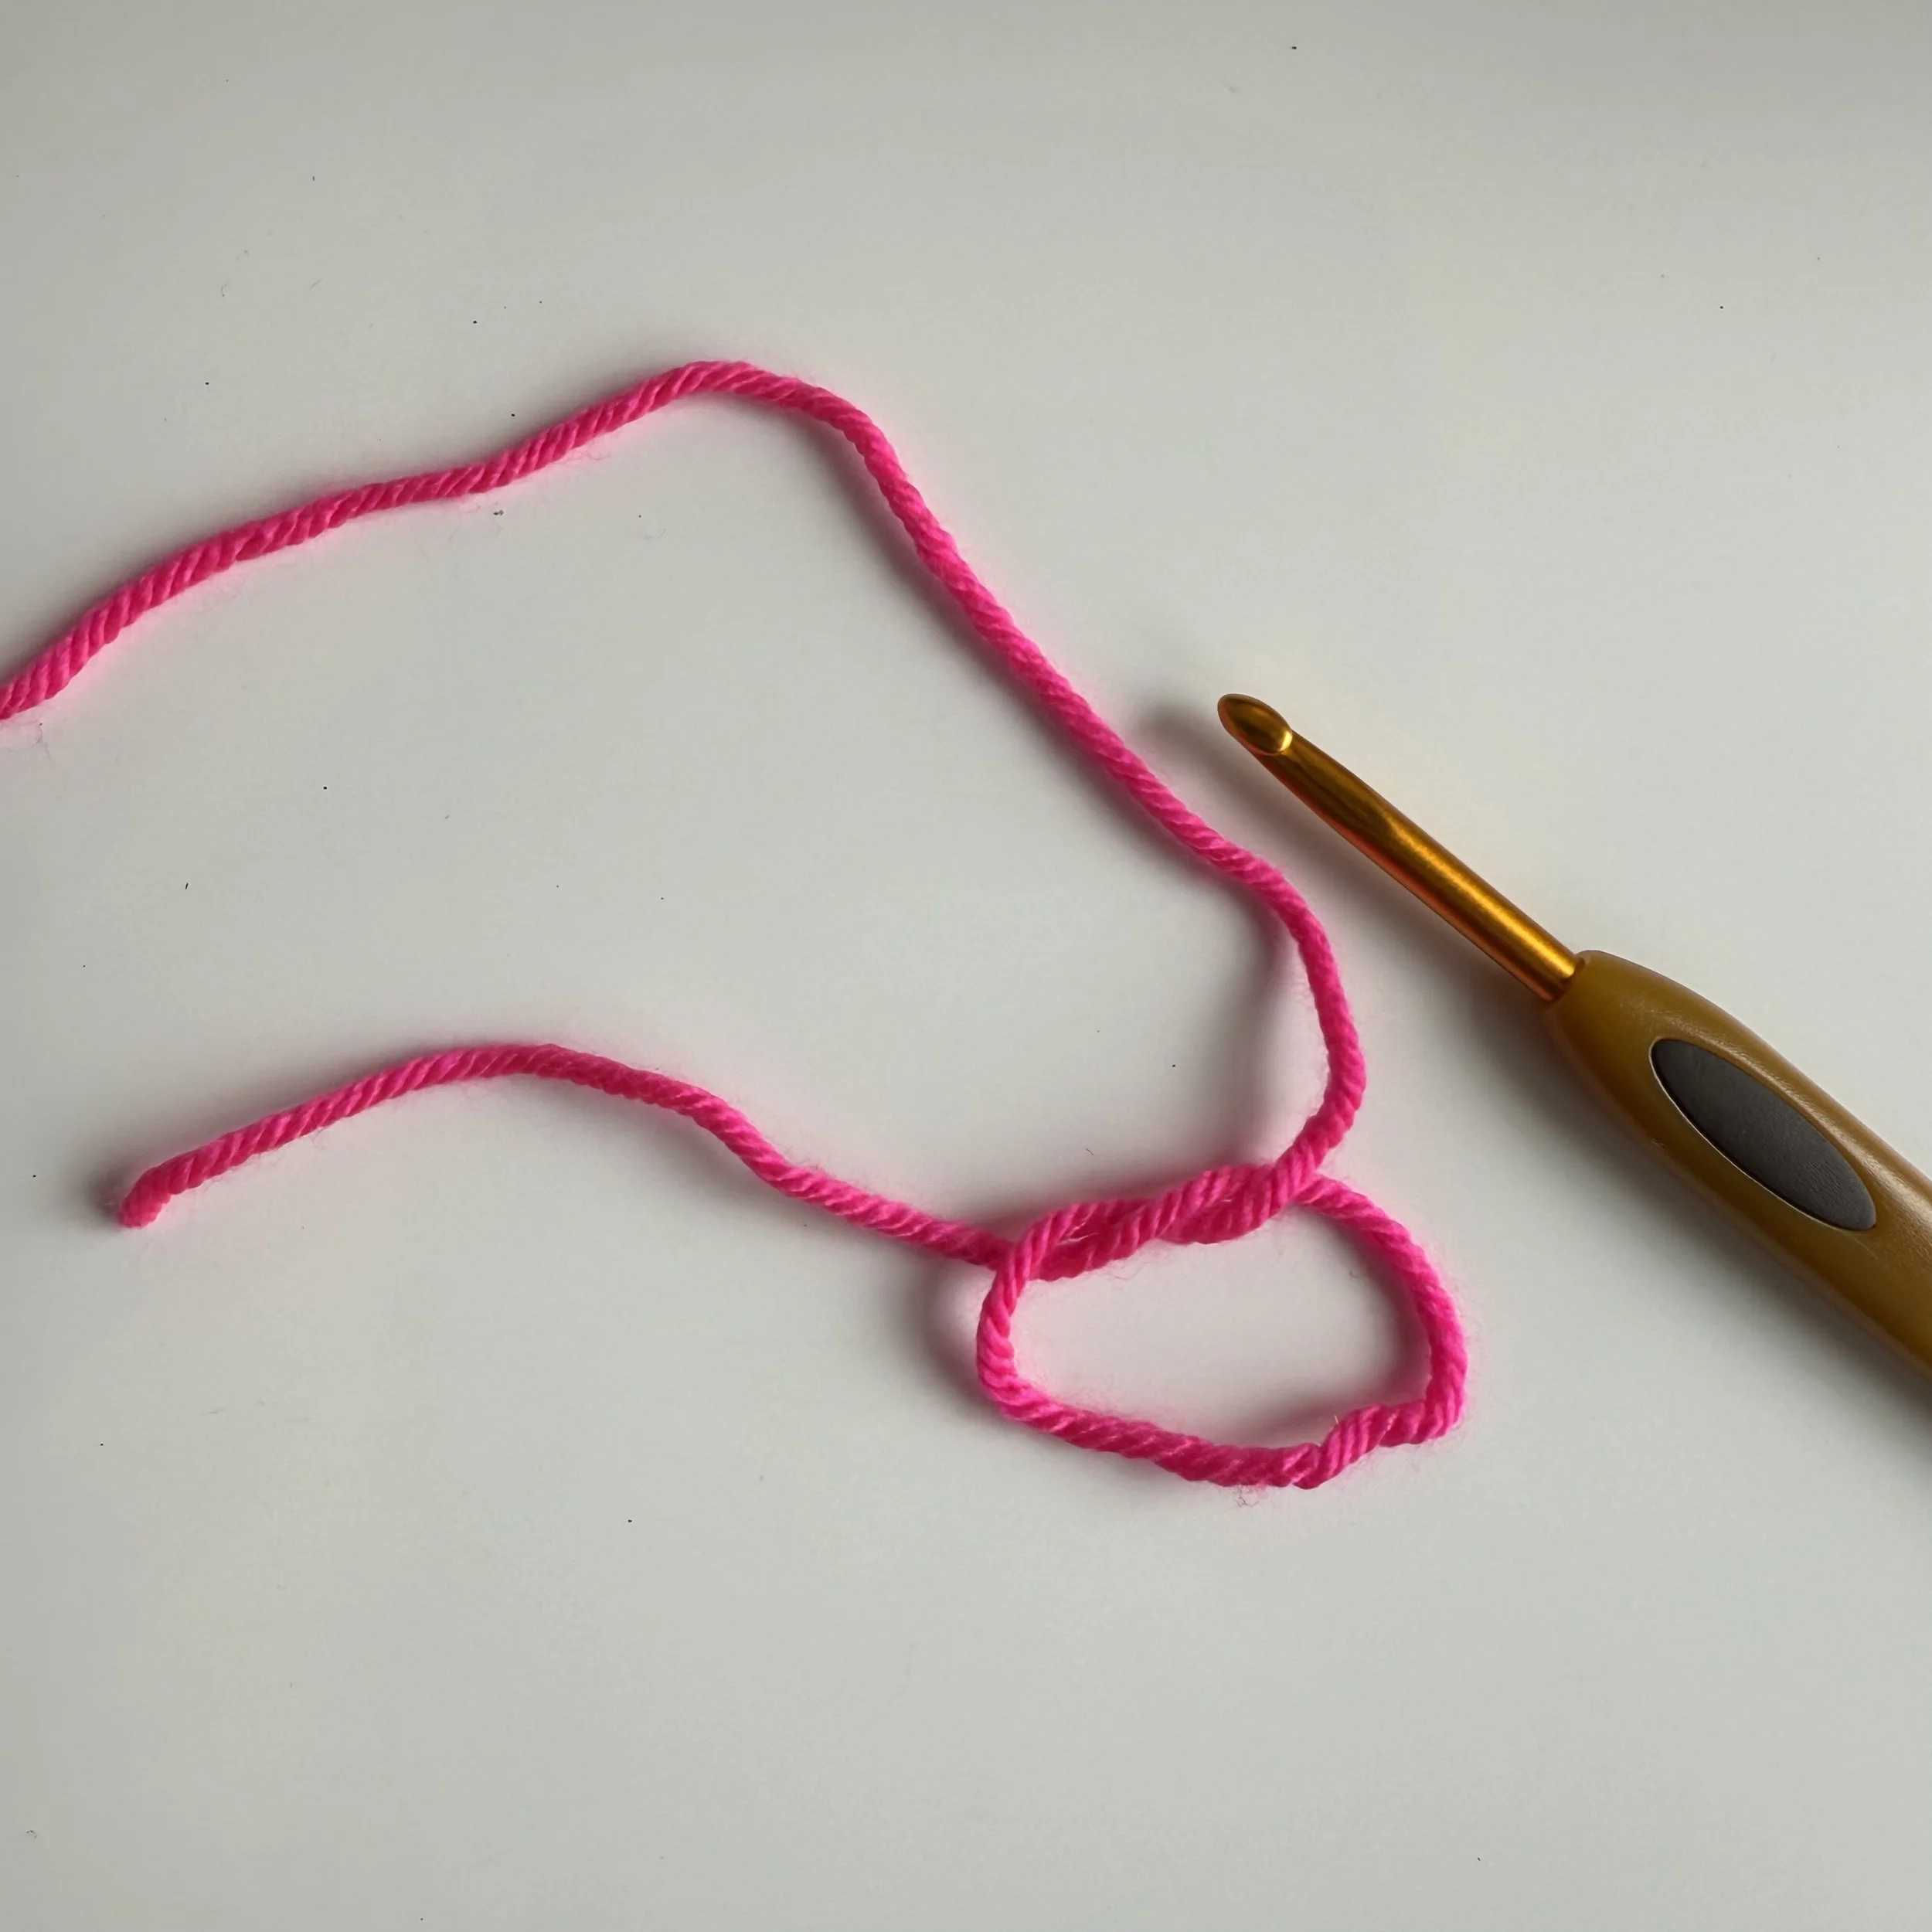
US H/5mm Crochet Hook
Large Eye Darning Needle
Scissors
Steamer to steam block
Some other suggestions:
Fingering Weight yarns with a US F/3.75mm Hook or maybe even a US E/3.5mm Hook
DK Weight Yarns with a size US G/4mm Hook or US 7/4.5mm Hook
These yarns and hook suggestions are just that, suggestions… play around and see what you want the fabric of the granny square to look like.
The Pattern
Notes:
Ch 3 will count as a dc
ch 2 spaces will be the corners of the granny squares
The square increases every row with a new ch 1 and cluster of 3 dc
S T I T C H K E Y
Ch = Chain
Sl St = Slip Stitch
St(s) = Stitch(es)
Dc = Double Crochet
Sp = Space
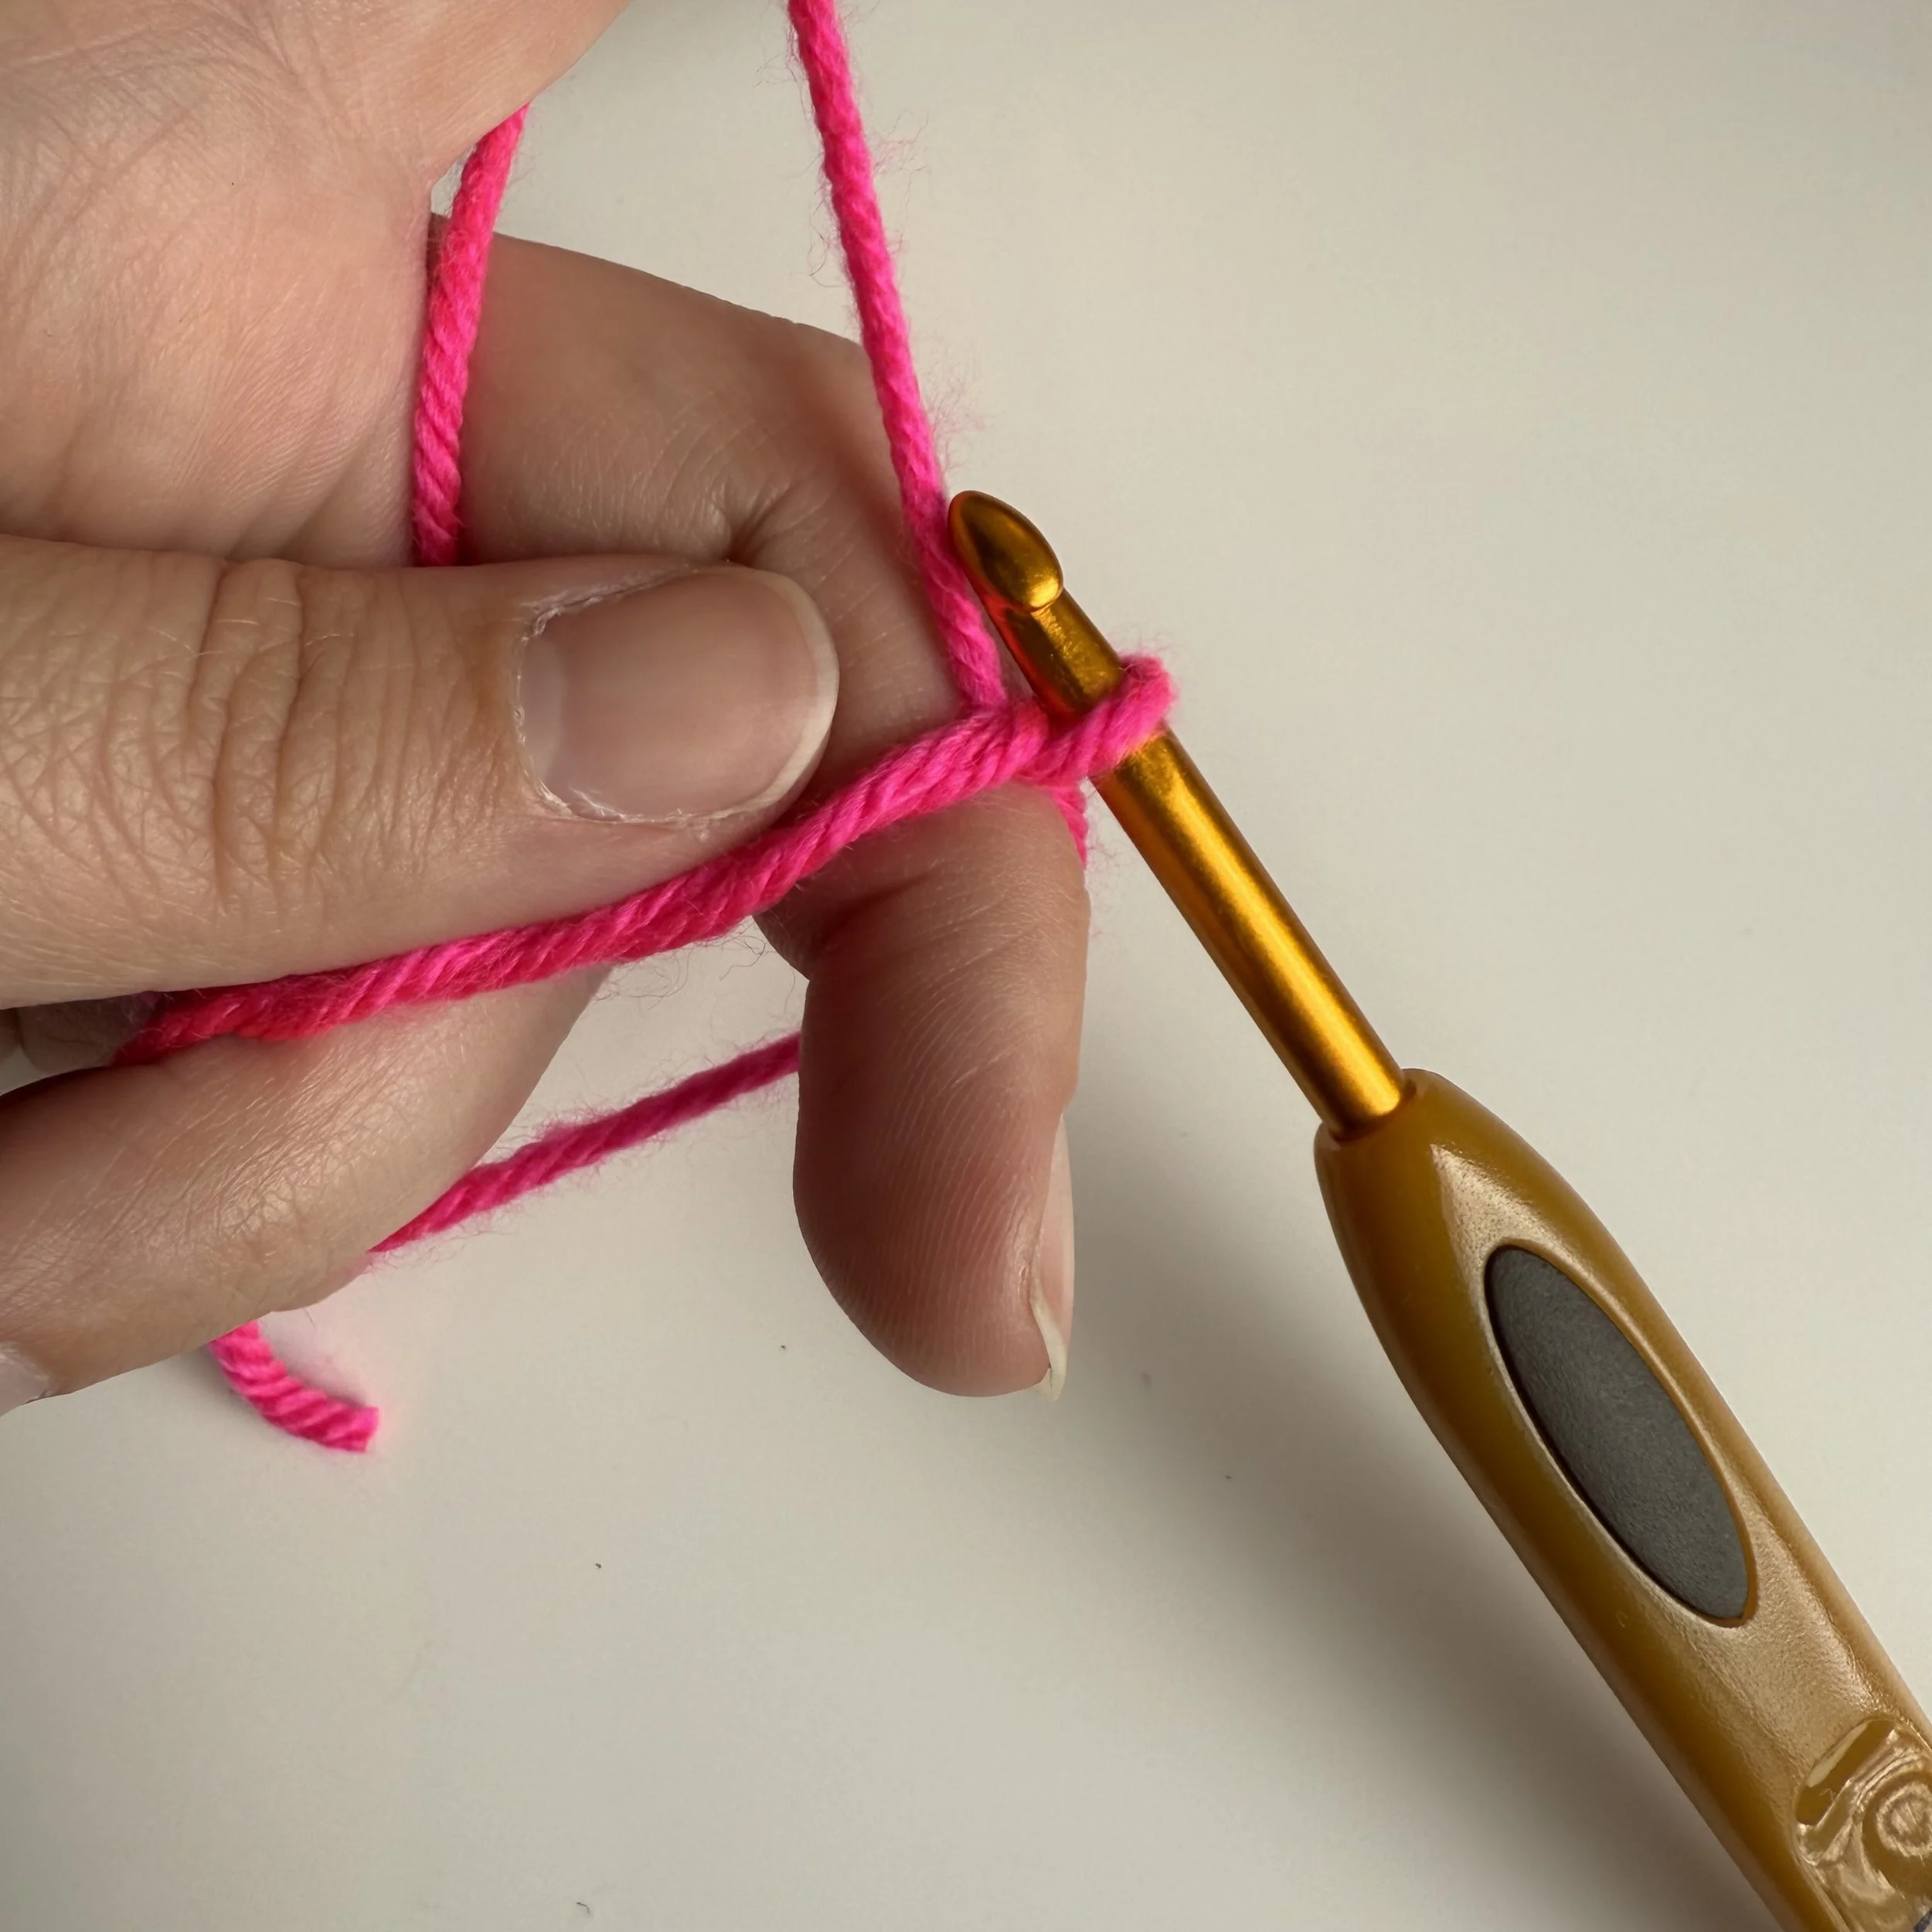
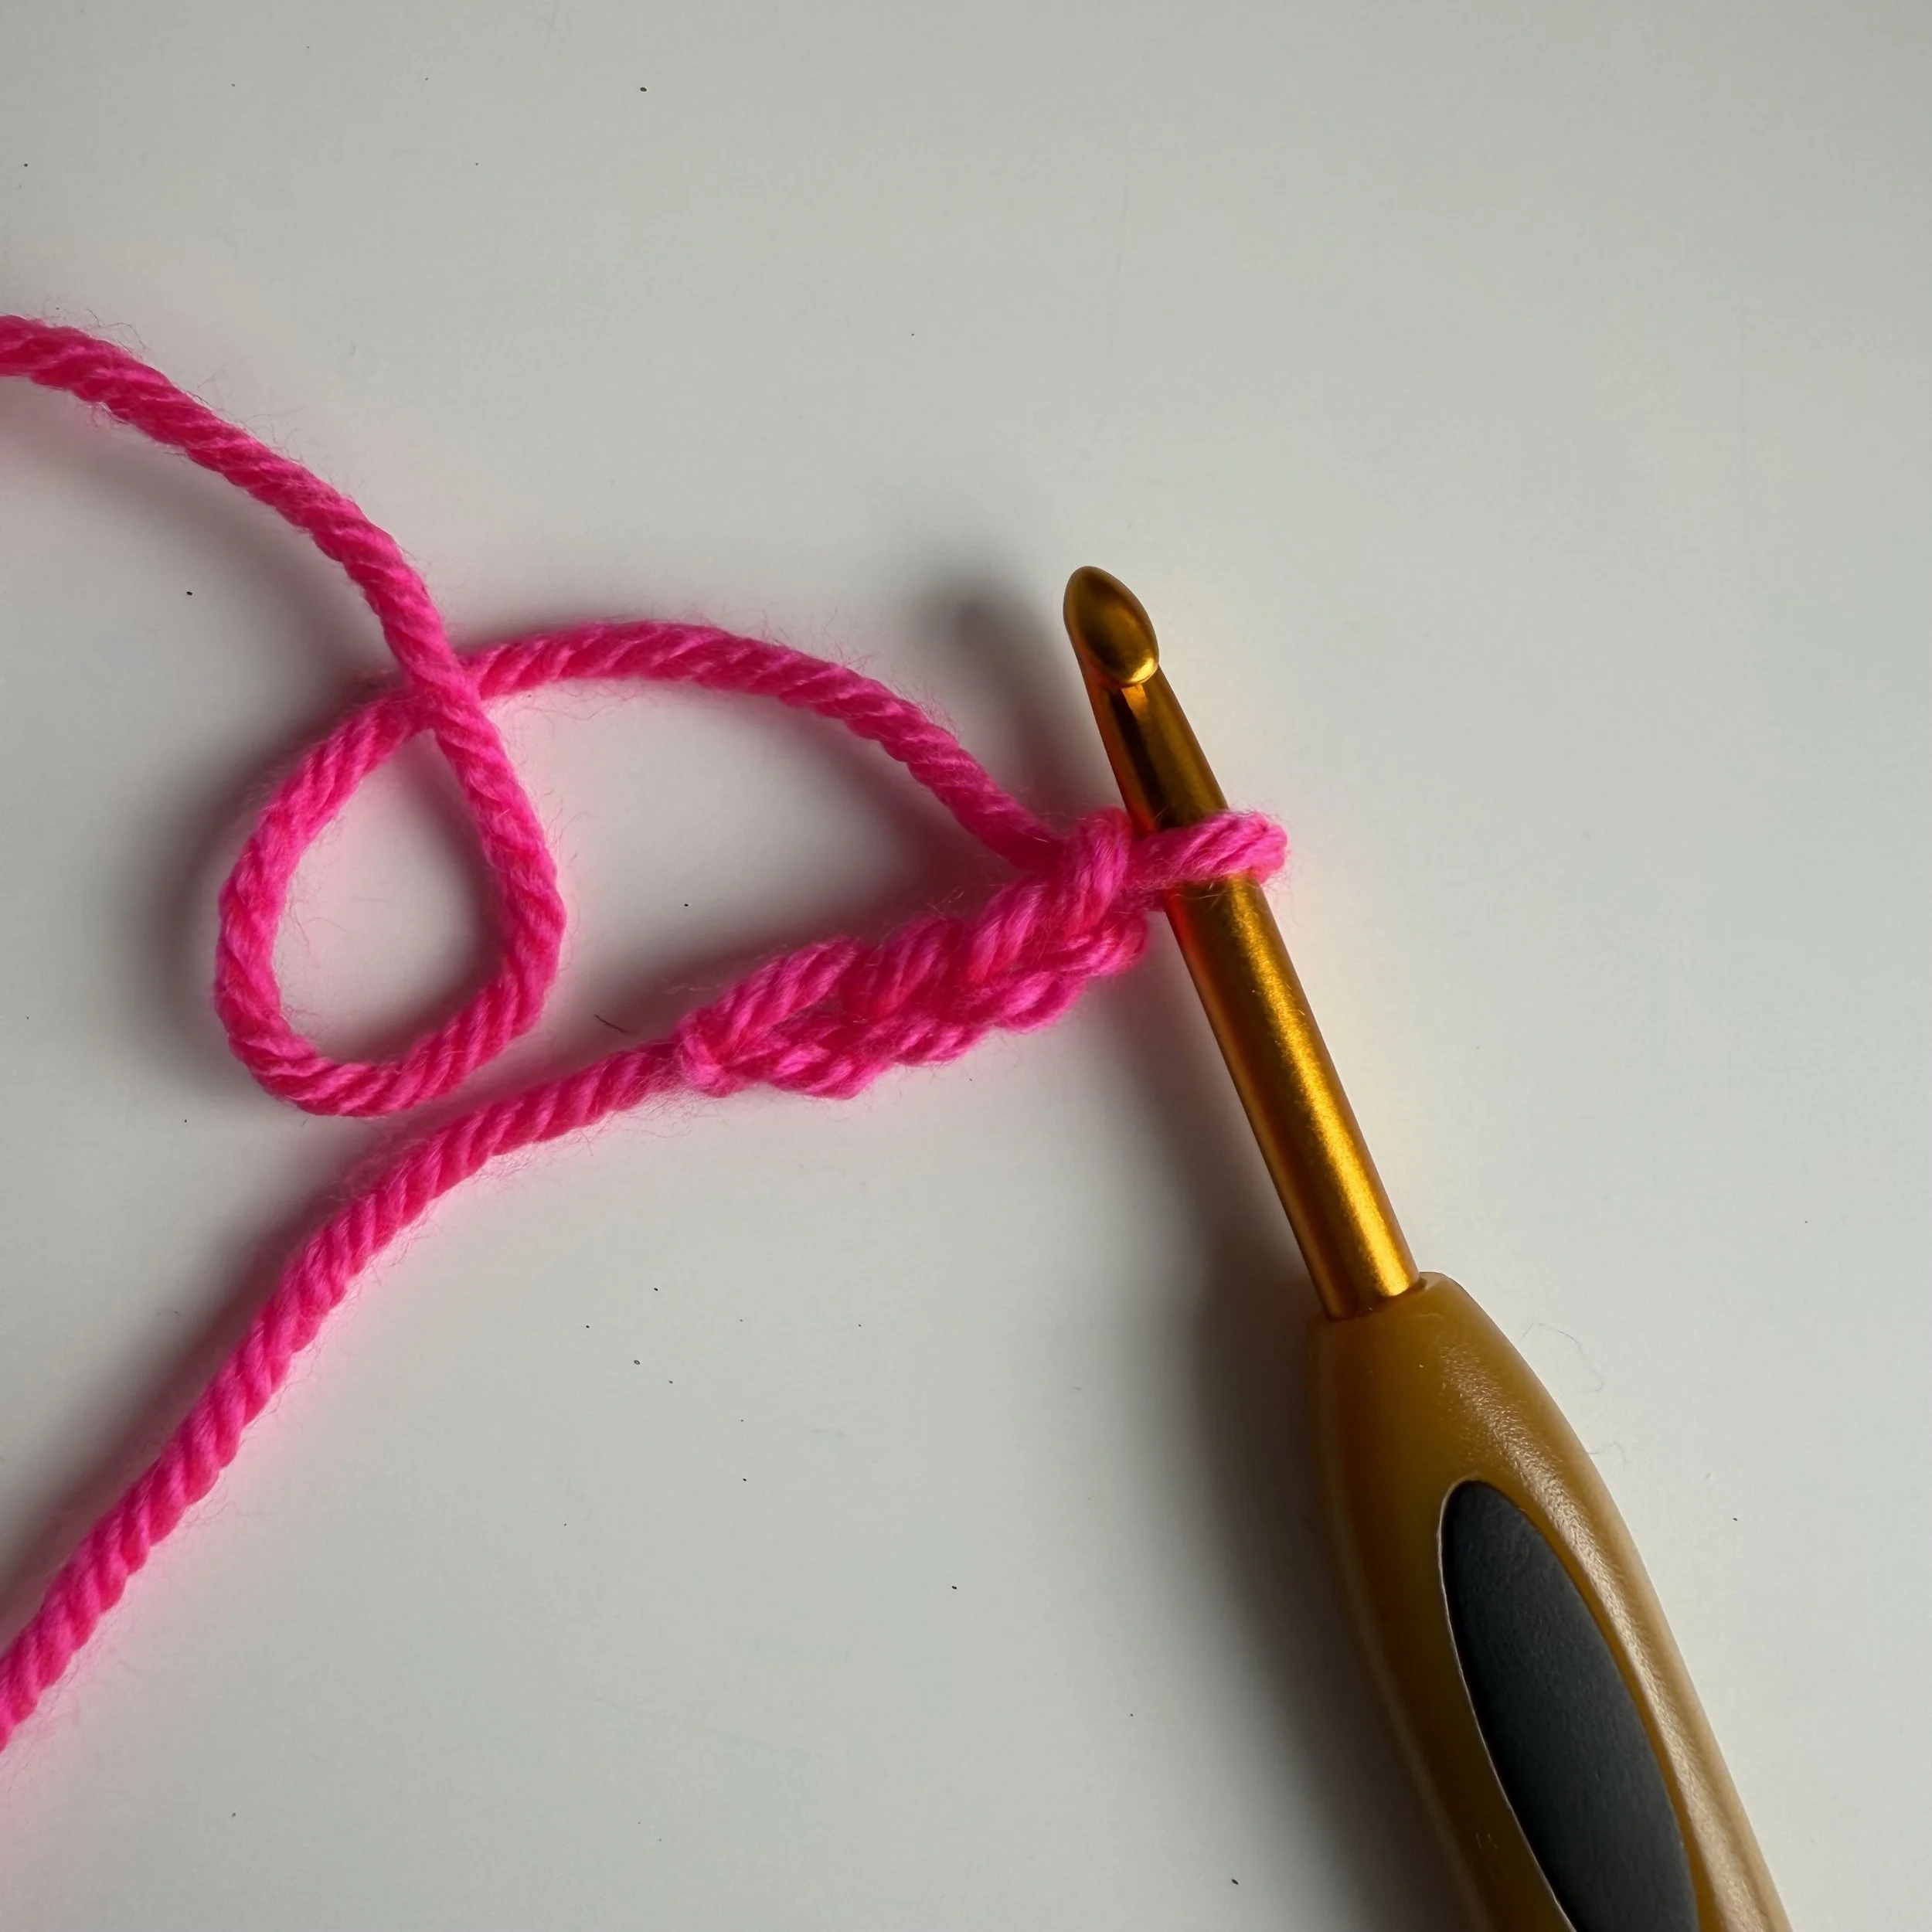
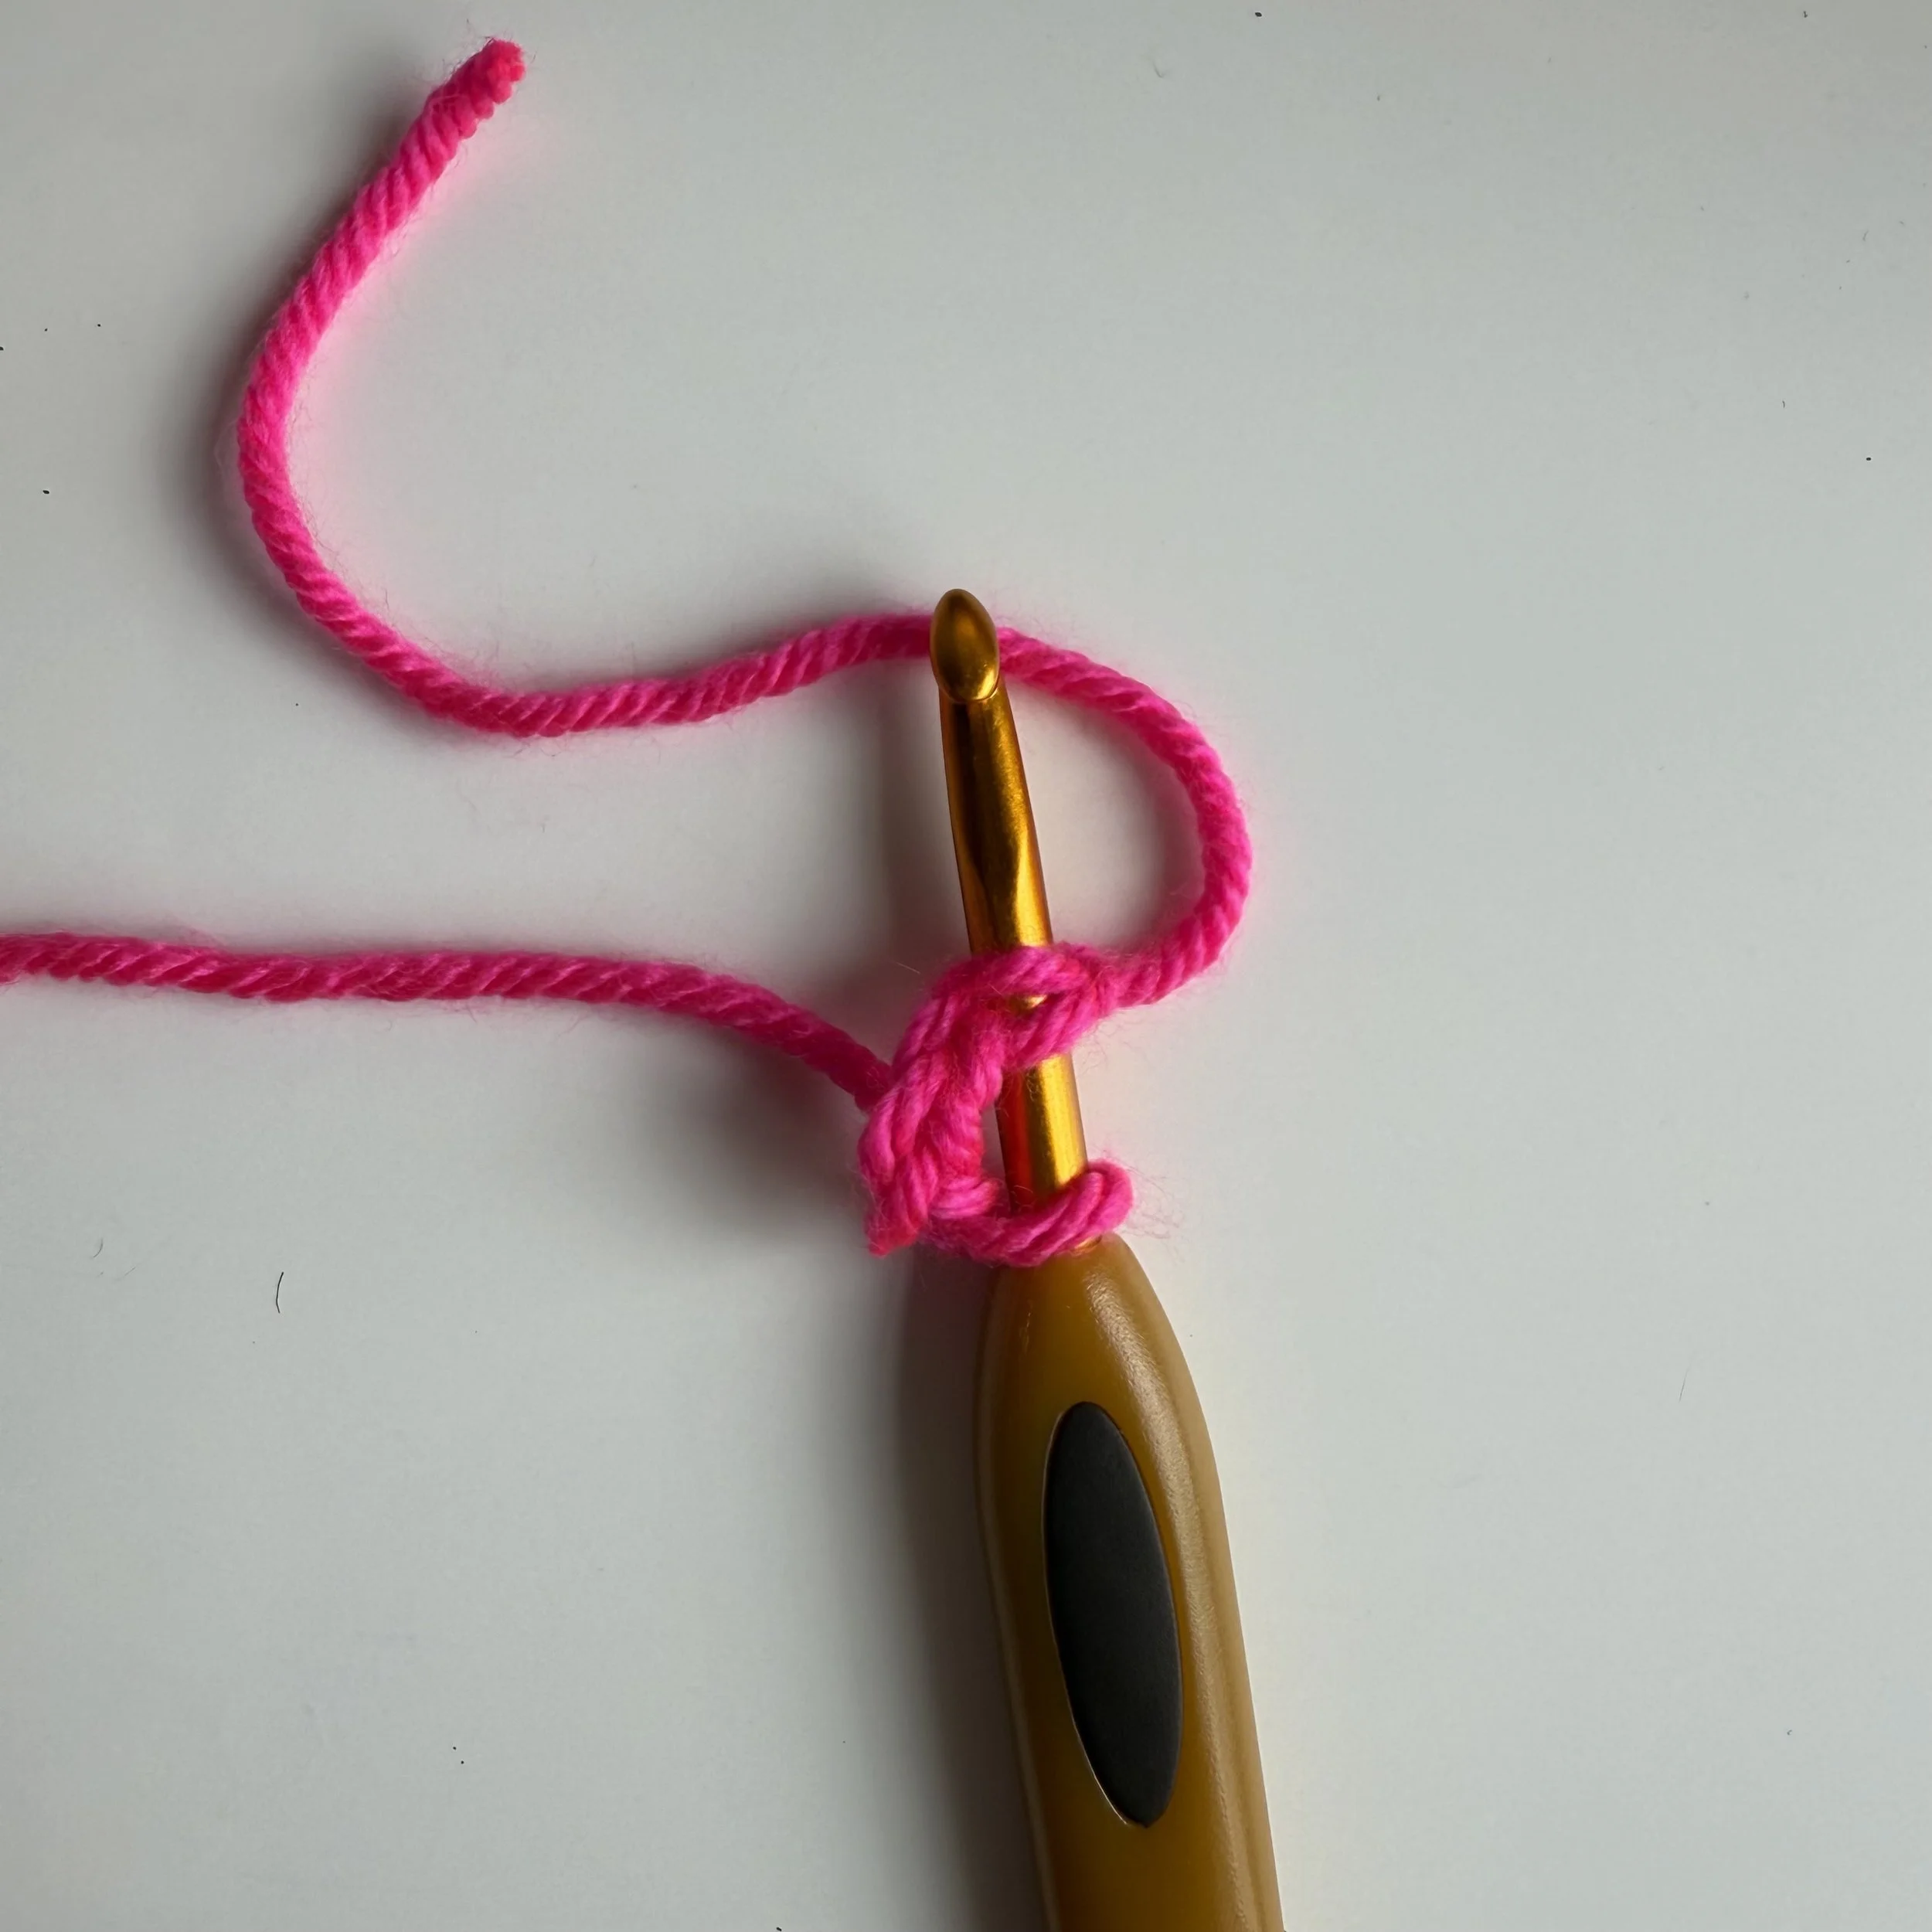
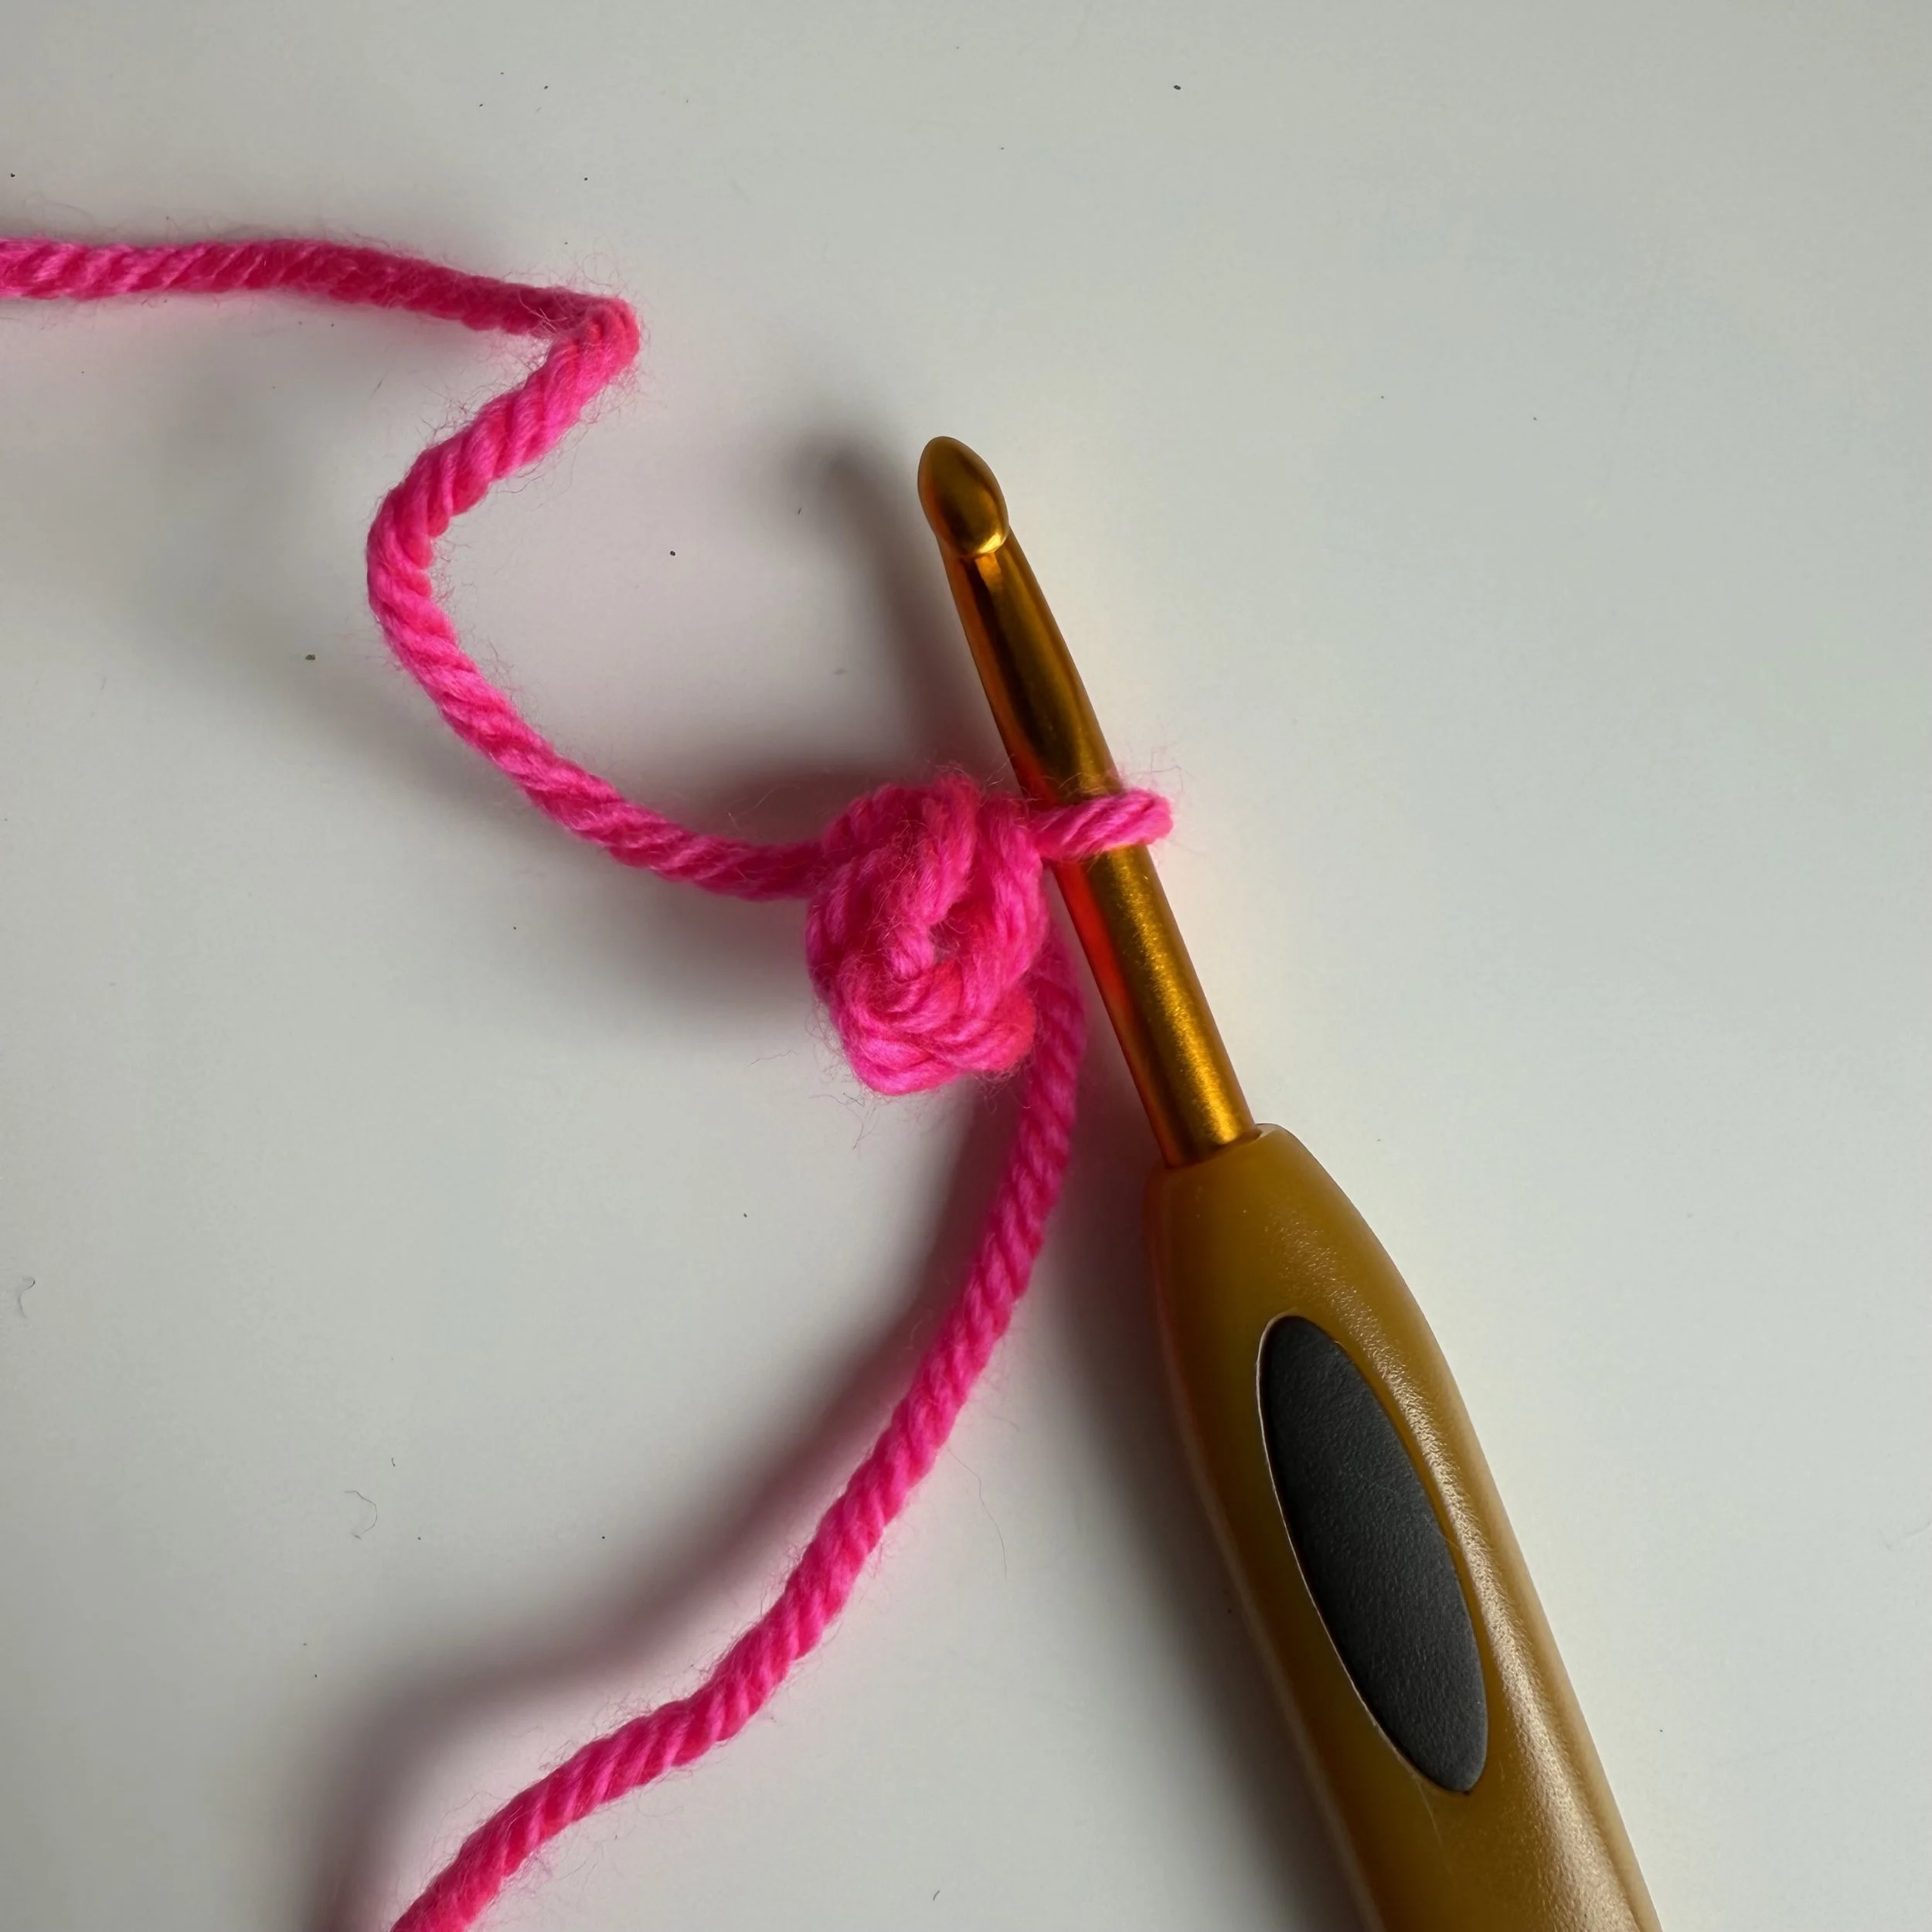
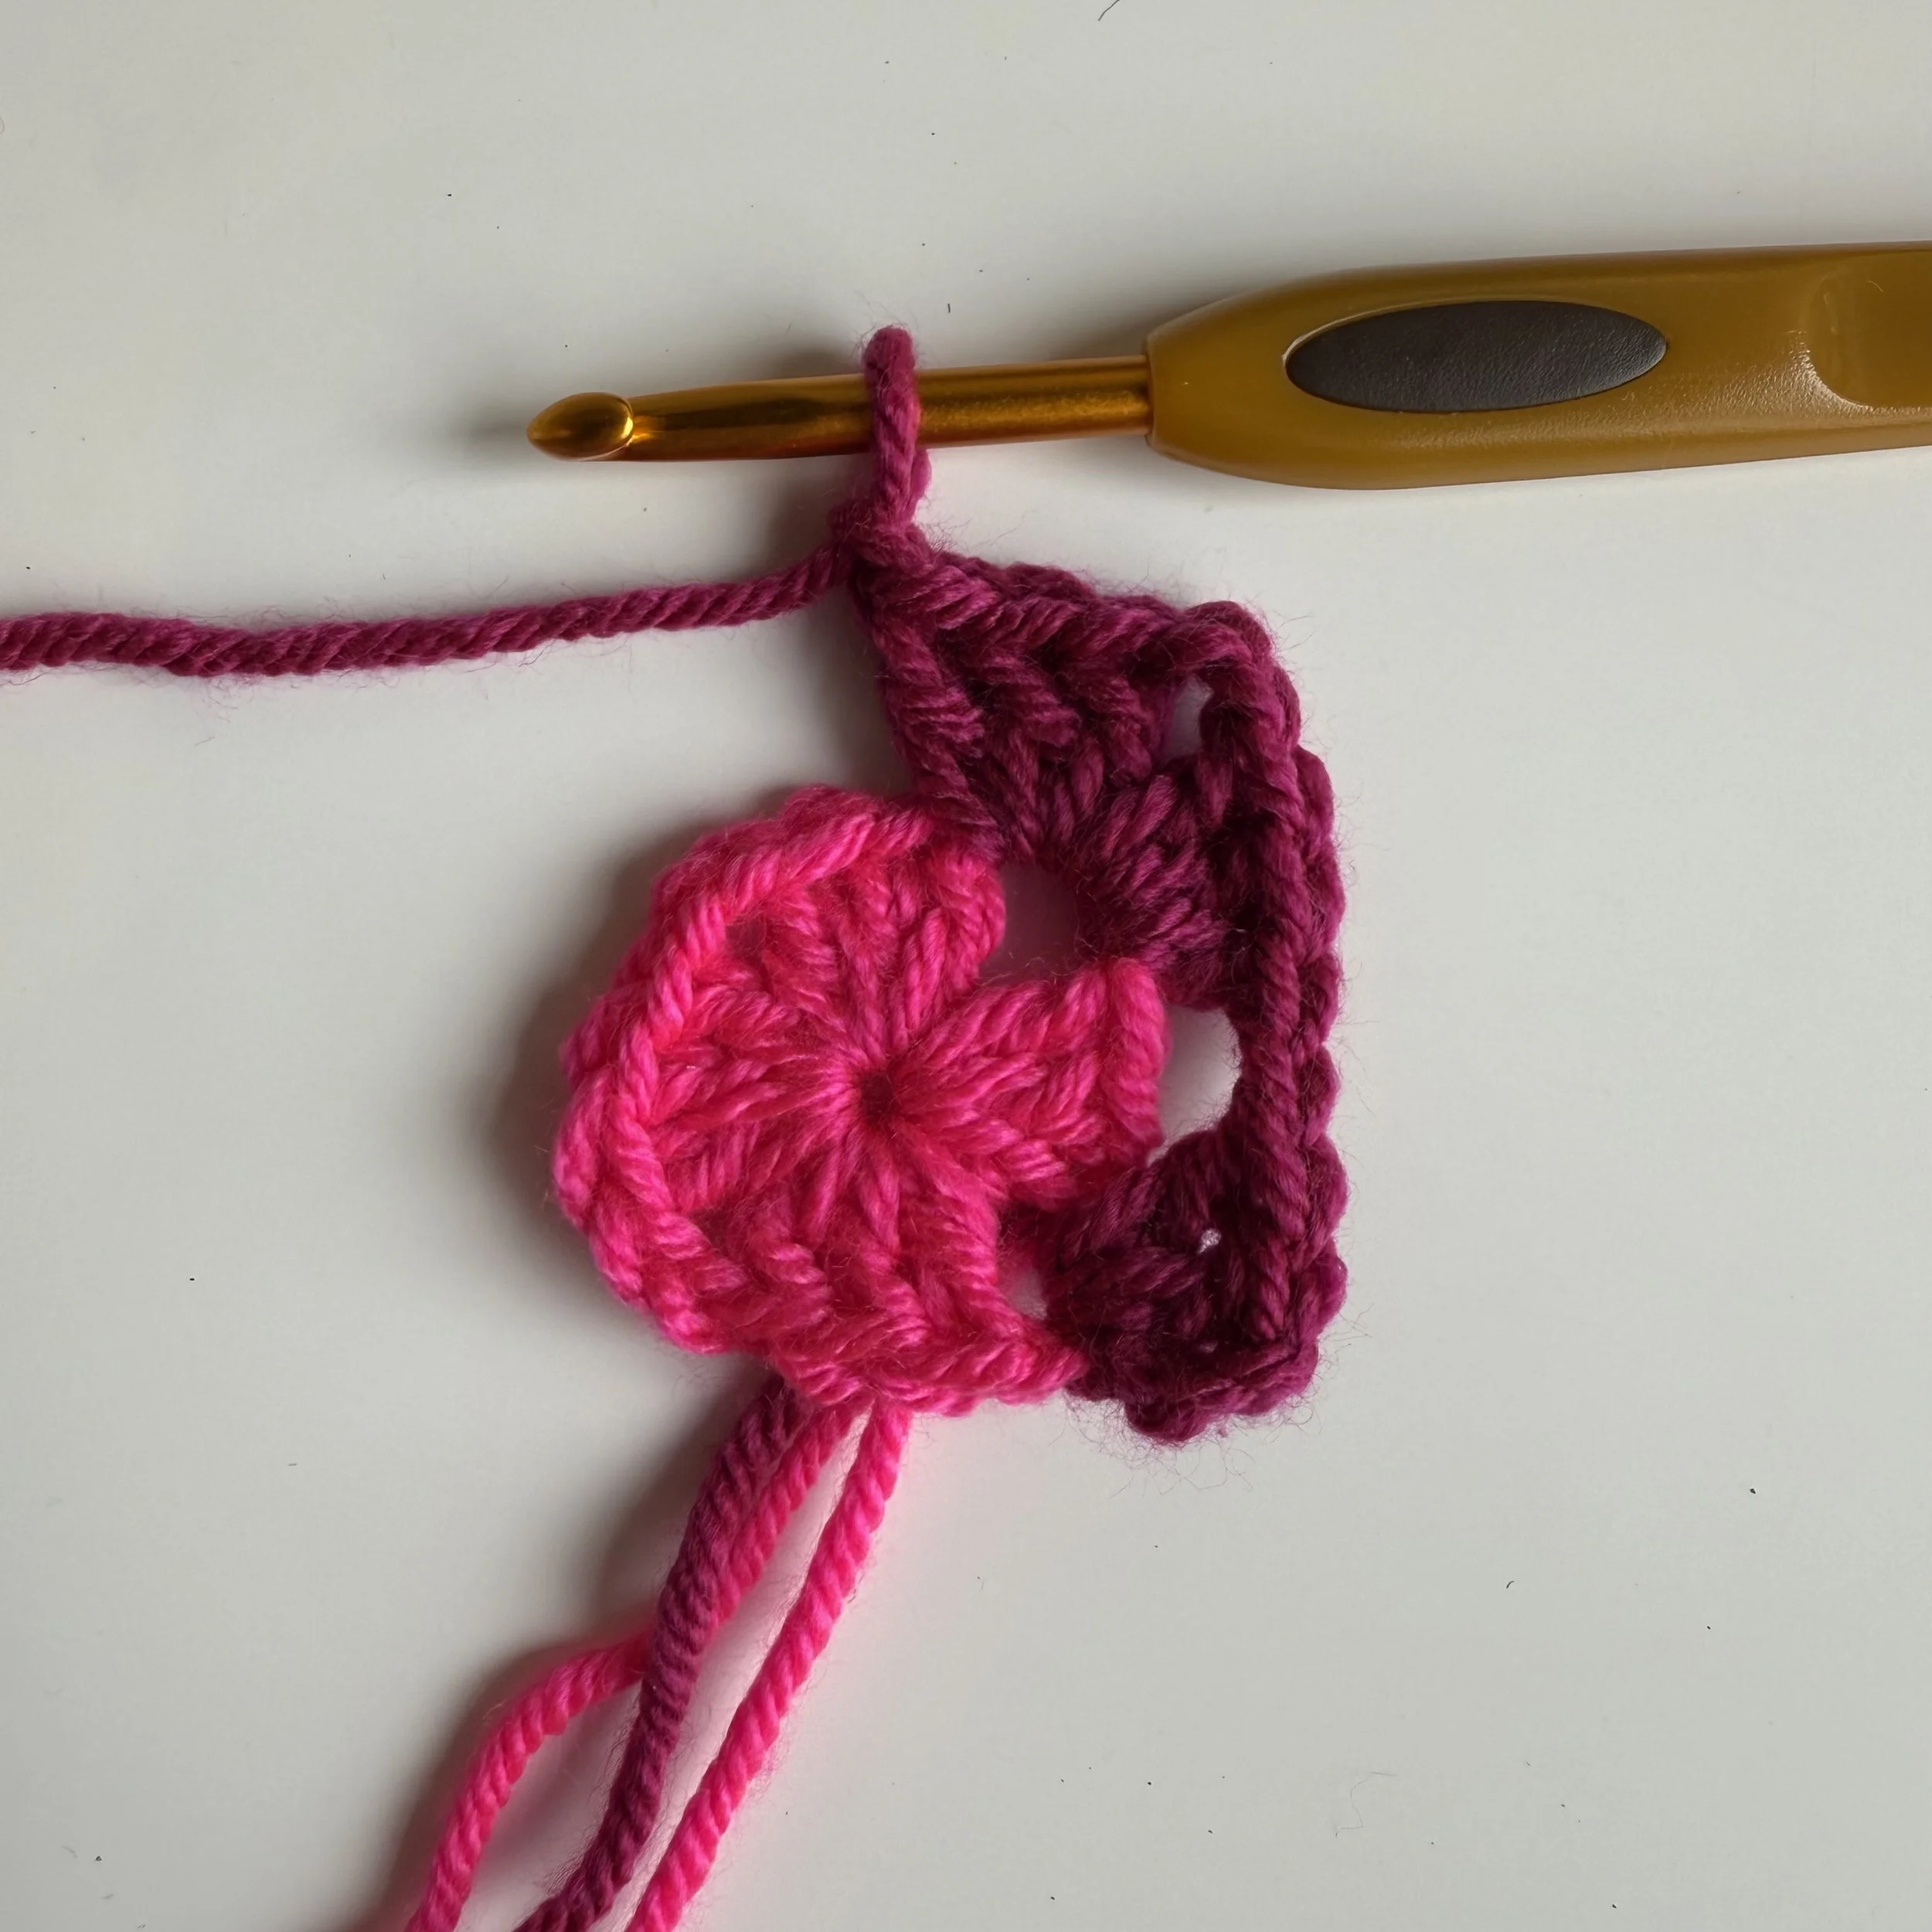
With the first color, make a magic ring
OR
ch 4 and sl st into the beginning ch to create a ring. Ch3
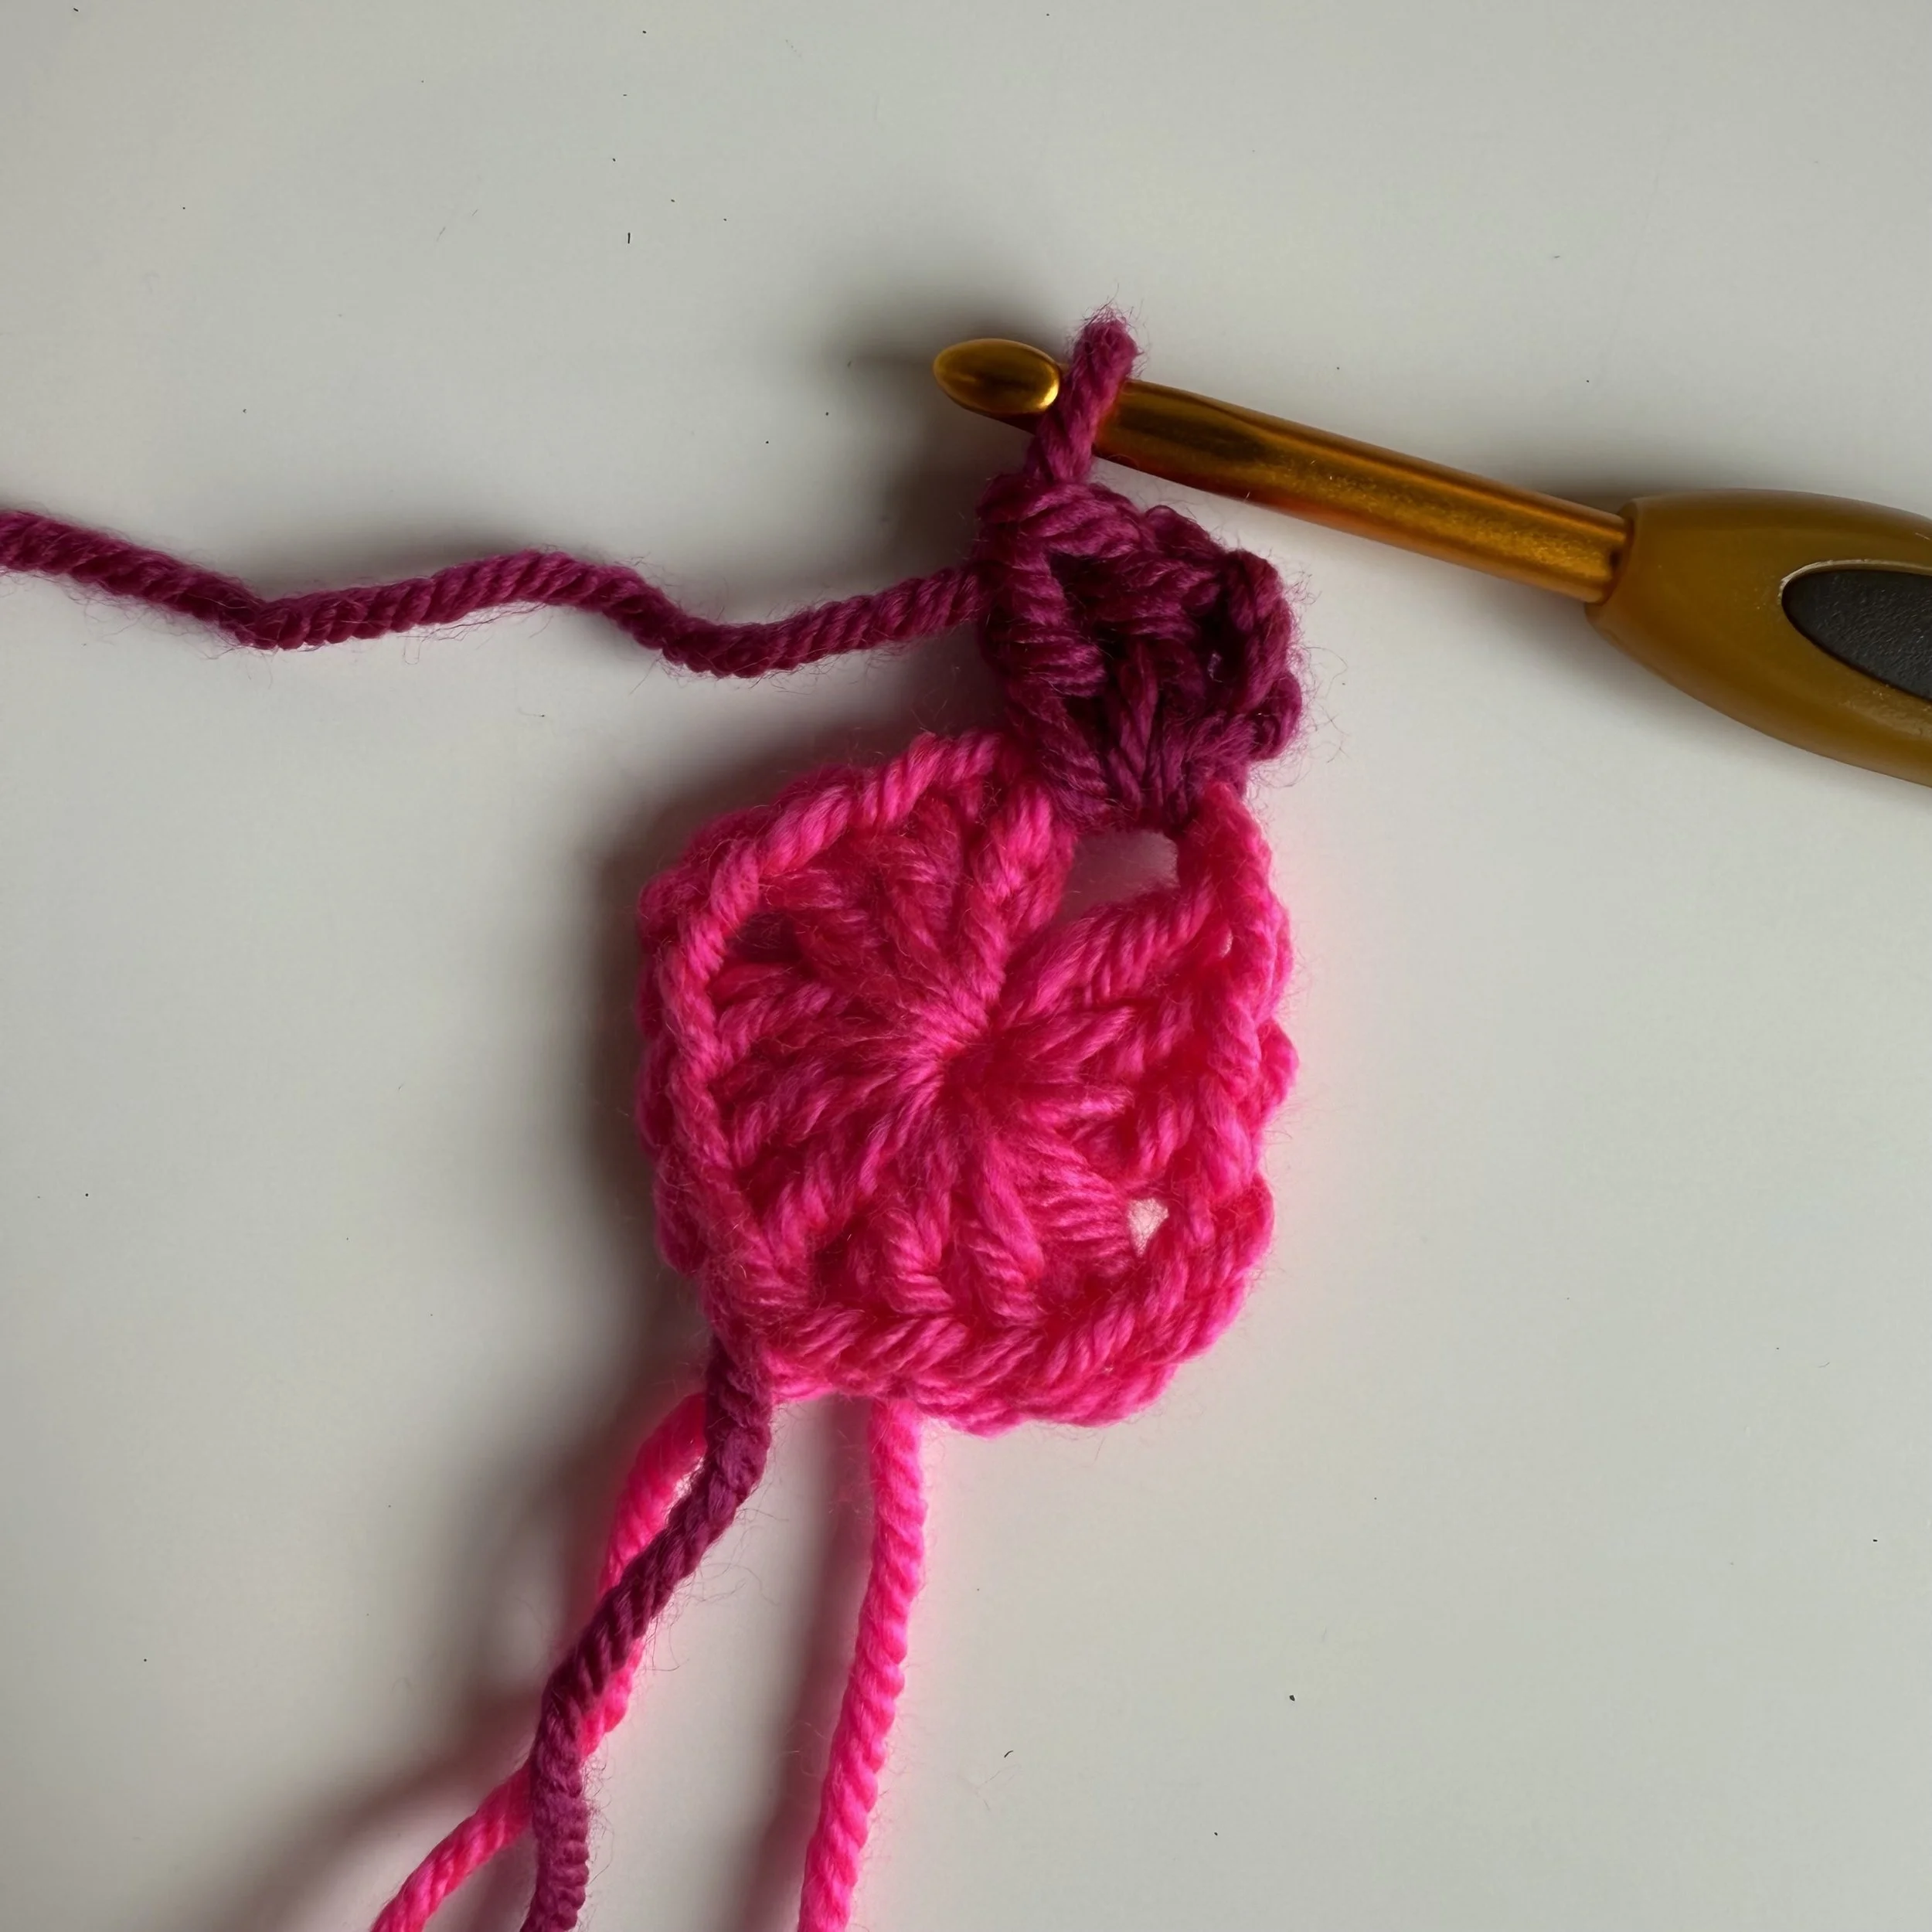
Round 1: After the ch 3 is made, make 2 dc into the center of the ring, ch 2, *make 3 dc into the ring, ch 2. Repeat from * 3 times. Ending with a ch 2, sl st into the top of the beginning ch 3. Tie off first color. ( 4
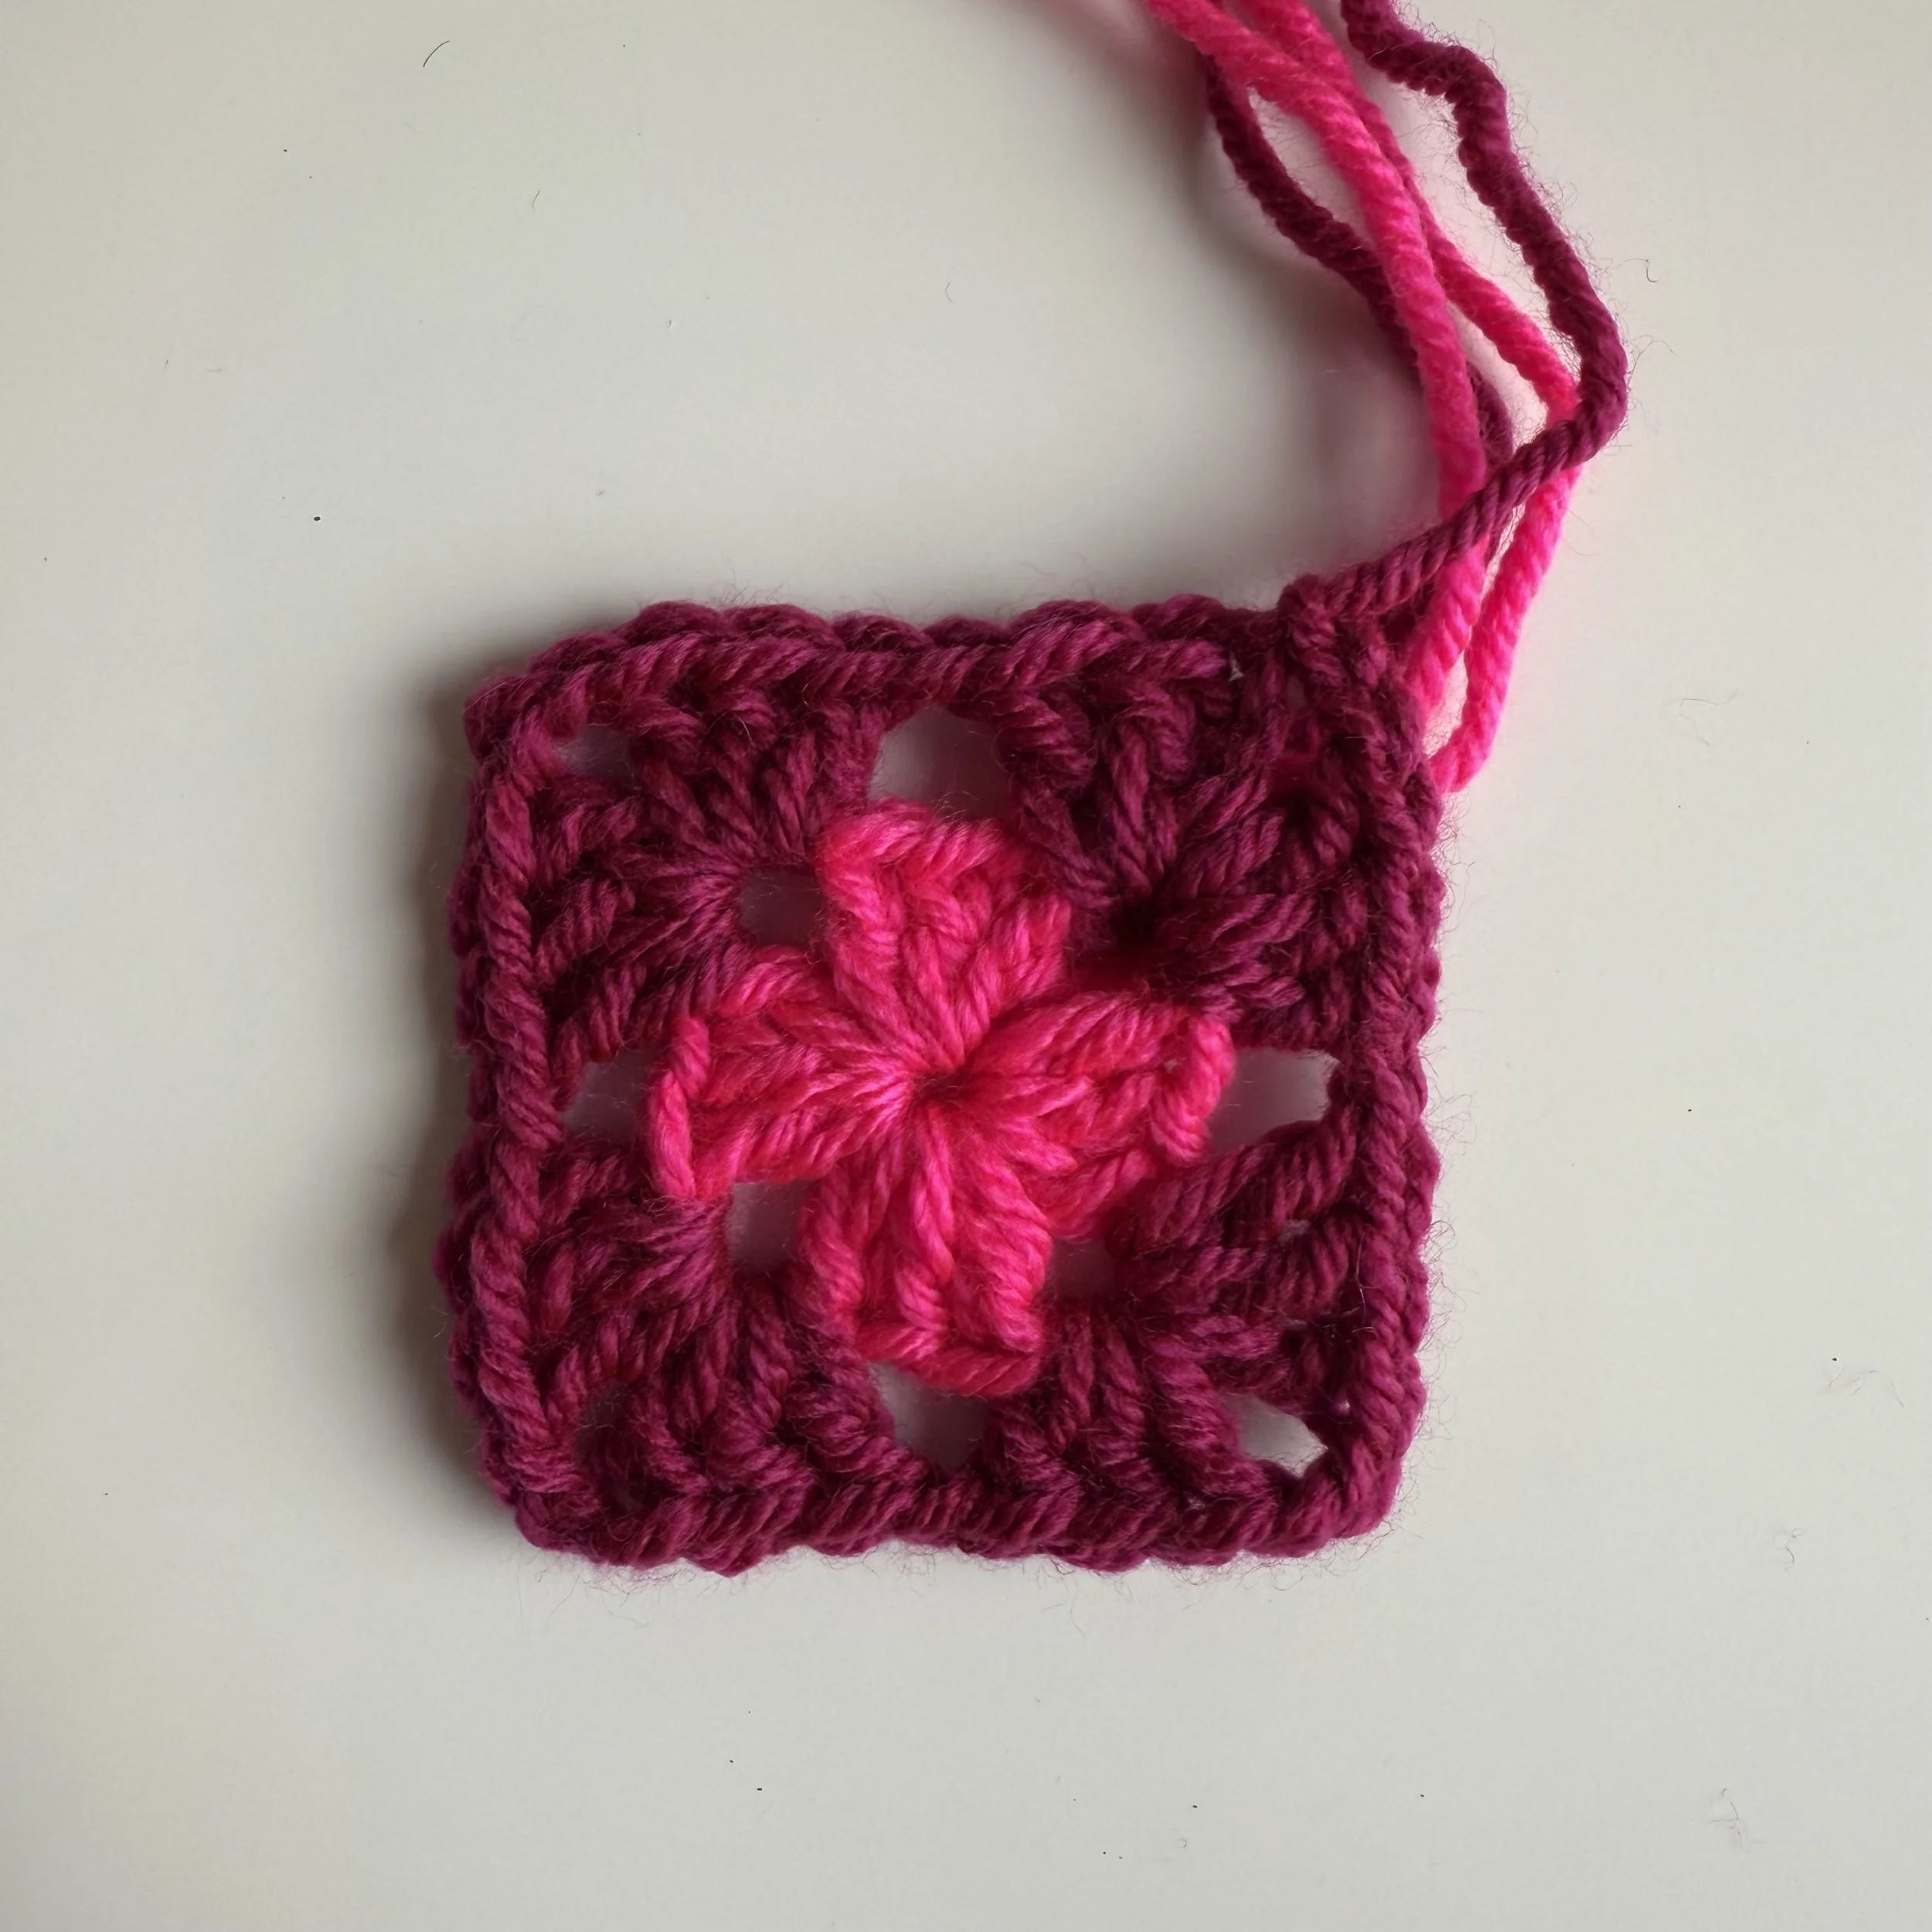
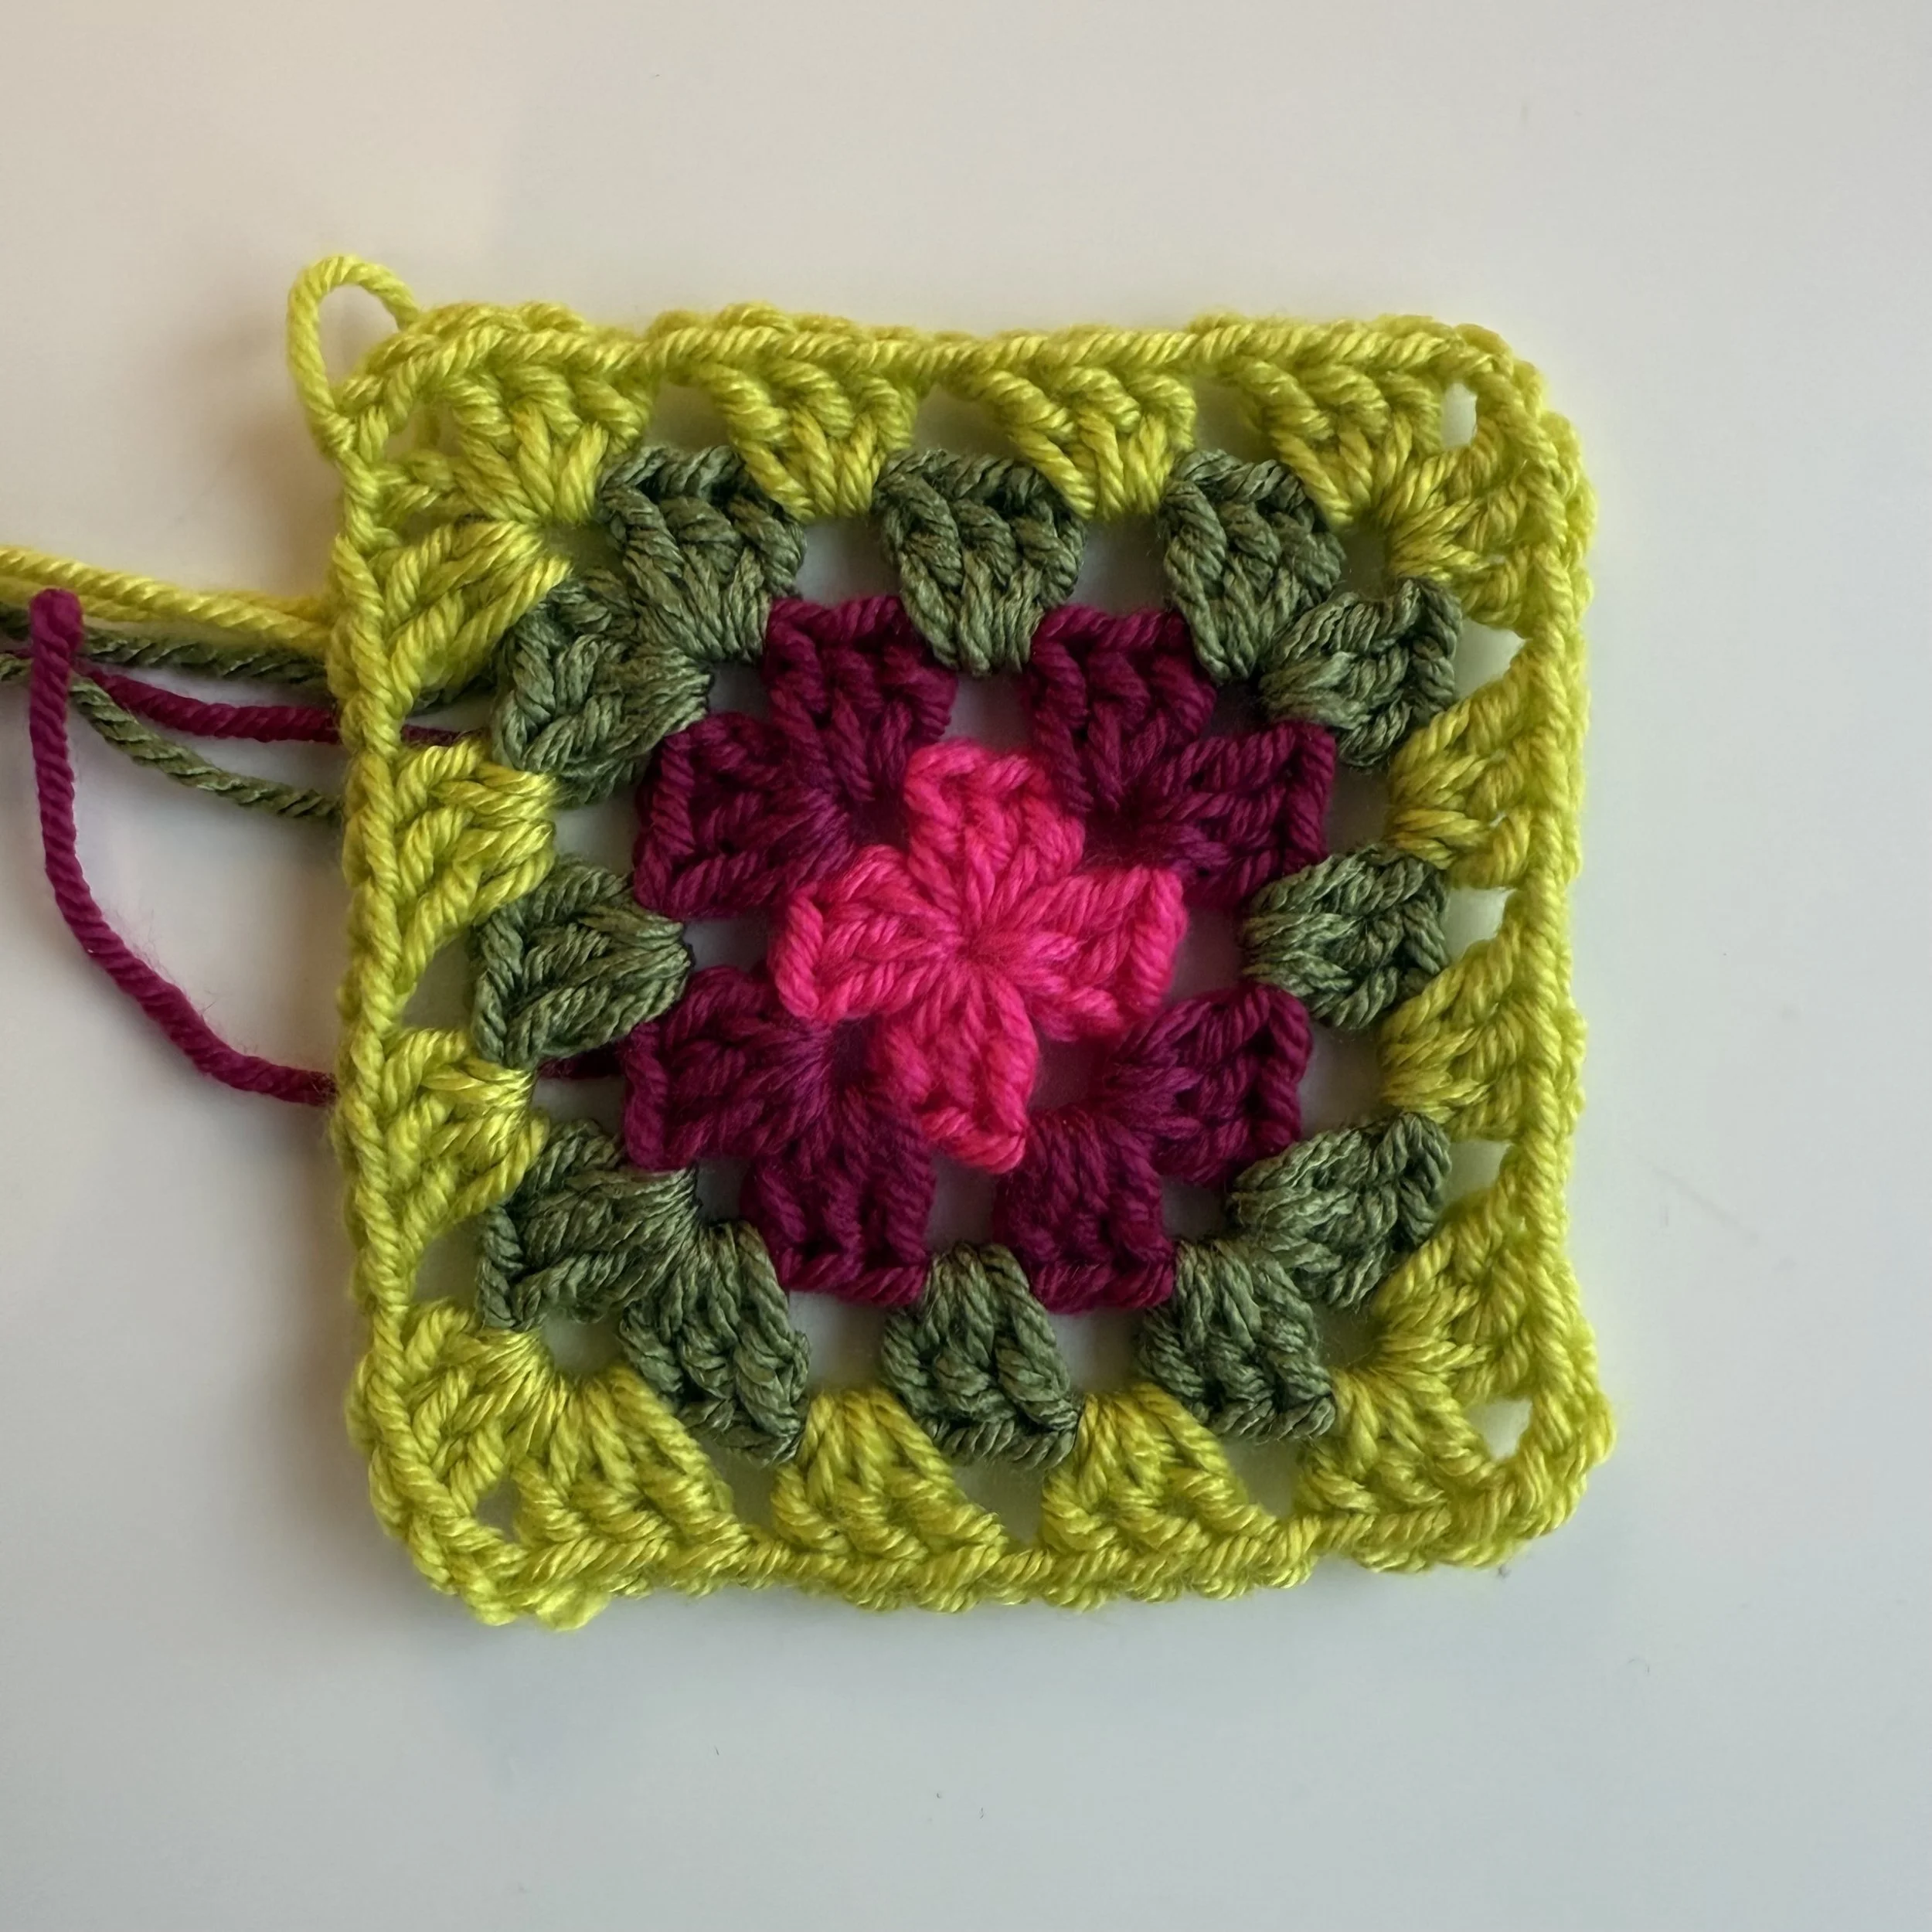
Round 2: In any corner and with your next color, pull up a loop and ch 3. Working in the same corner ch 2 sp, make 2 dc, ch 1. *Then in the next corner make (3dc, ch 2, 3 dc), ch 1. Repeat from *3 times ending at the first corner of the granny square. Finally, make 3 dc in the first corner sp, ch 2 and sl st into the top of the beginning ch 3 to close the round. Tie off second color.
Round 3: In any corner and with your next color, pull up a loop and ch 3. Working in the same corner ch 2 sp, make 2 dc, ch 1, in next ch 1 sp make 3 dc, ch 1. *Then in the next corner make (3dc, ch 2, 3 dc), ch 1, and in next ch 1 sp make 3 dc, ch 1. Repeat from *3 times ending at the first corner of the granny square. Finally, make 3 dc in the first corner sp, ch 2 and sl st into the top of the beginning ch 3 to close the round. Tie off second color.
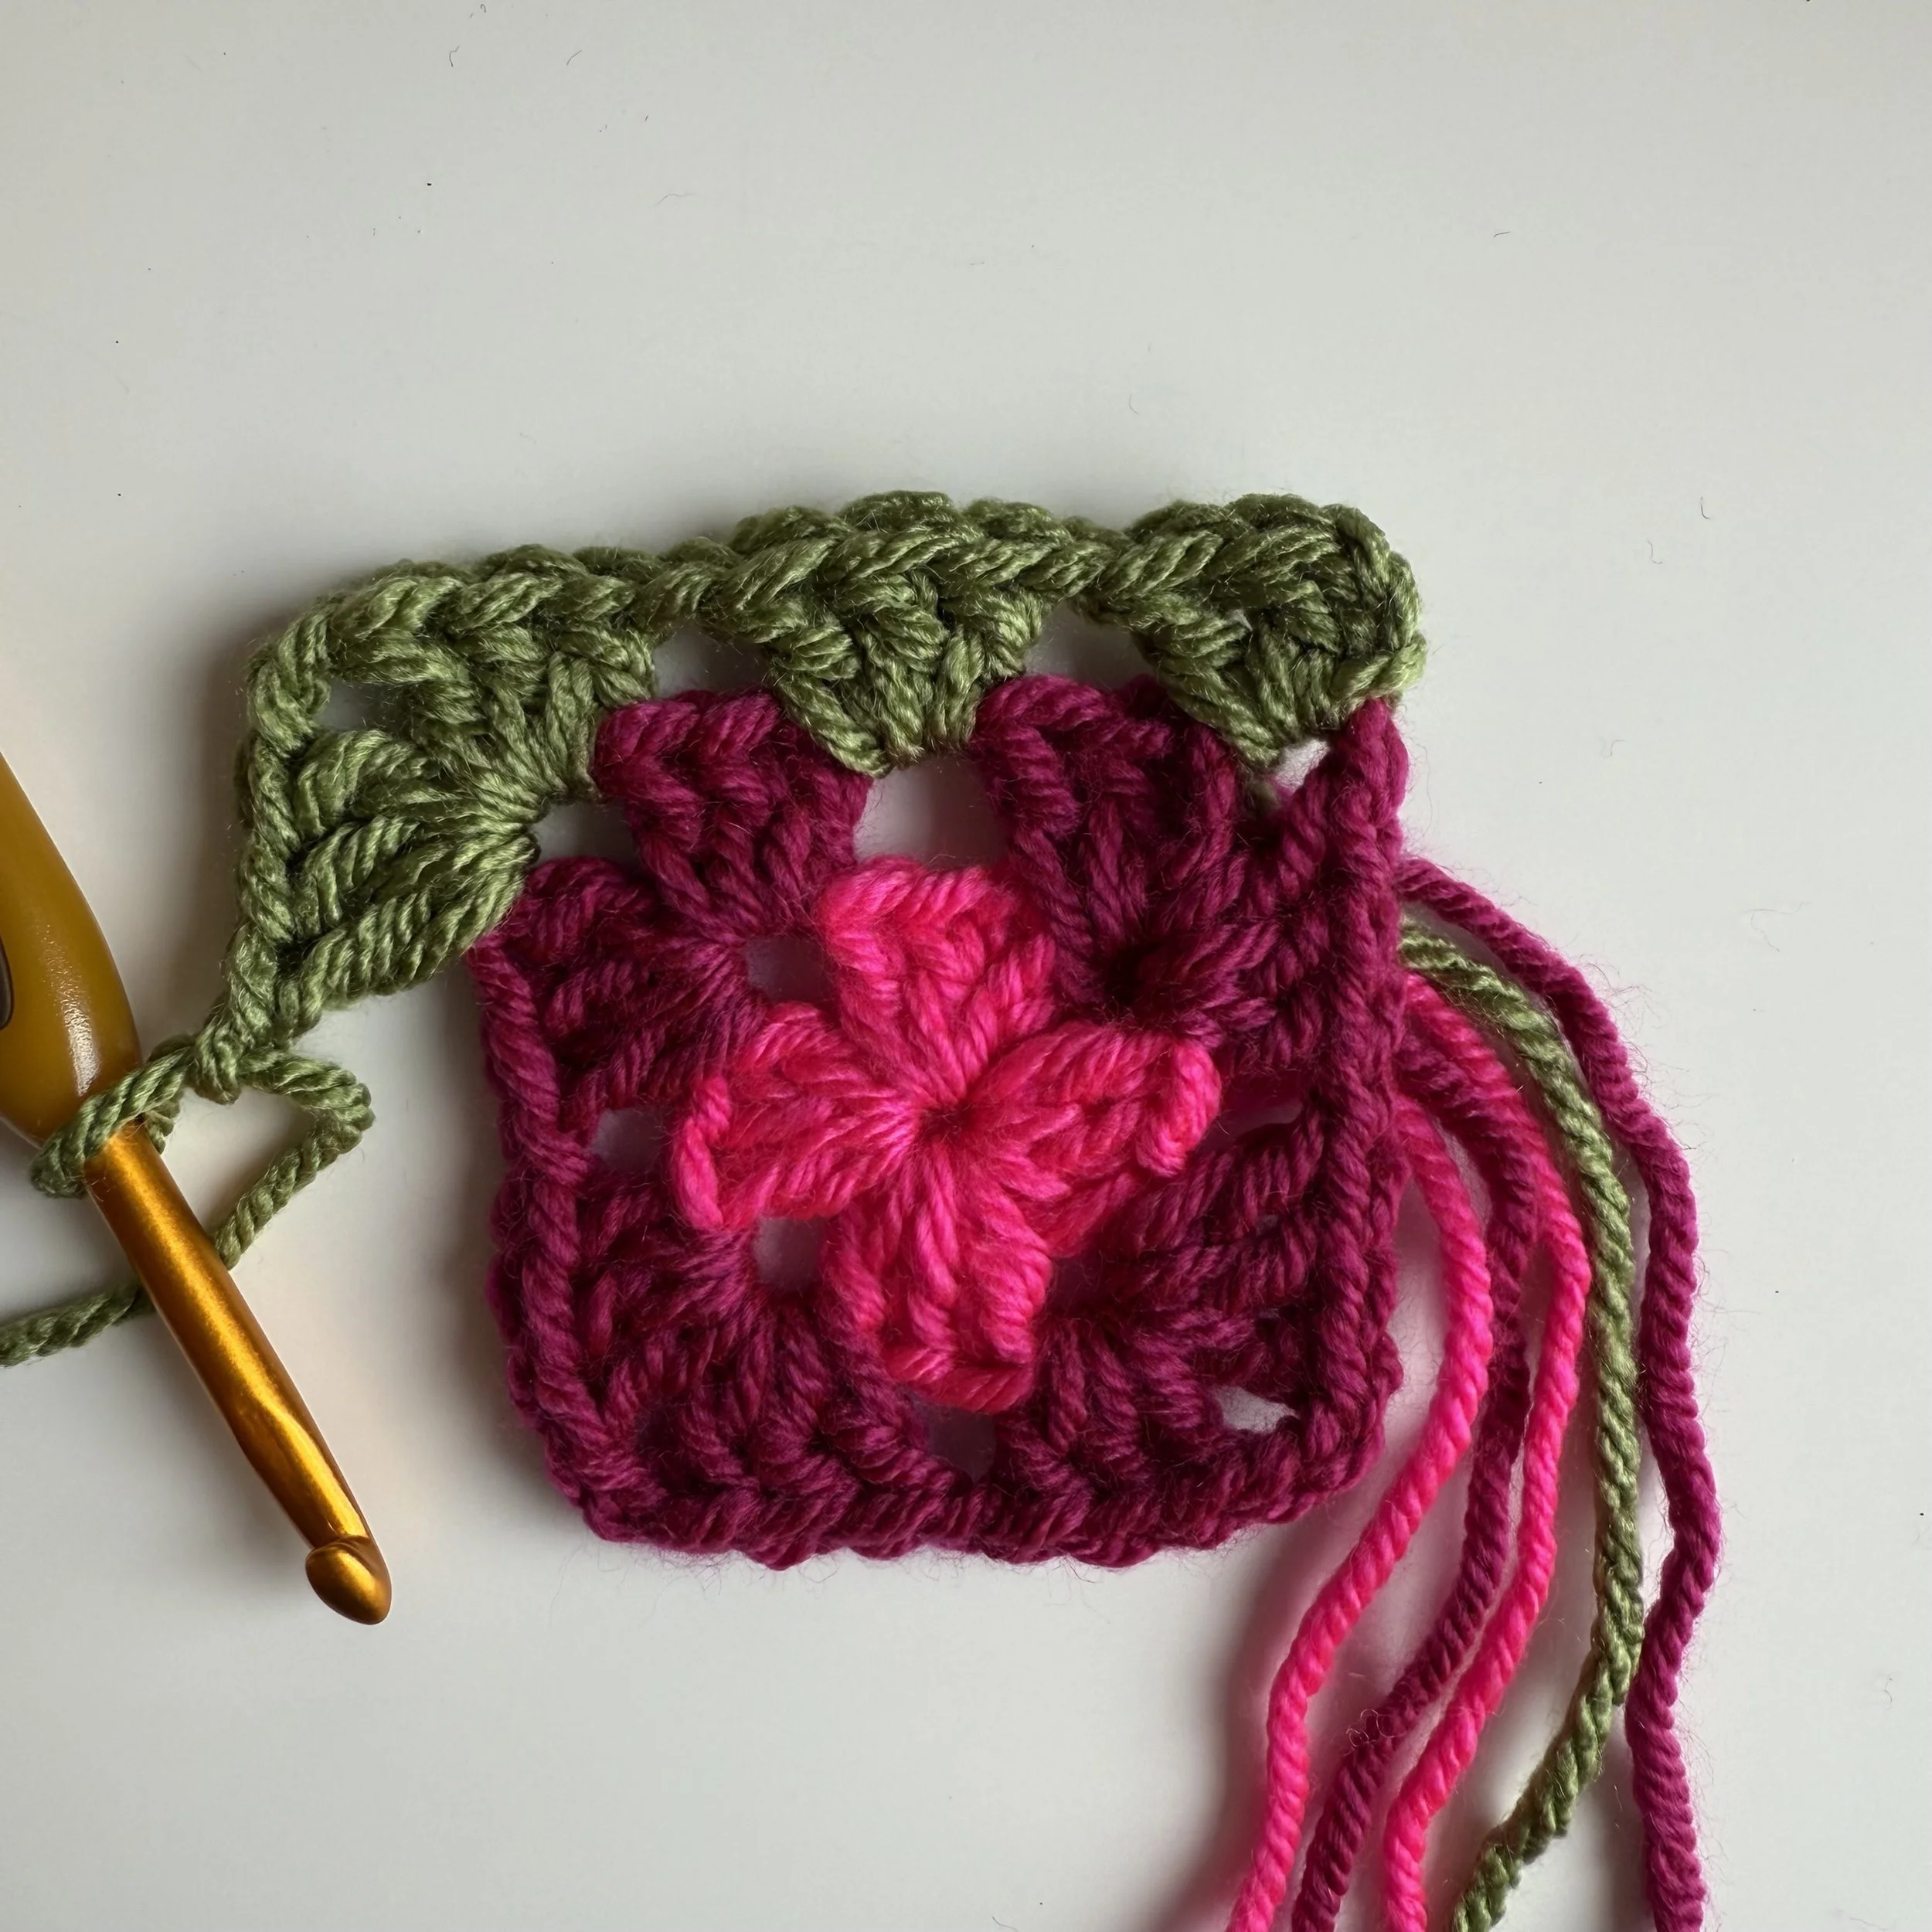
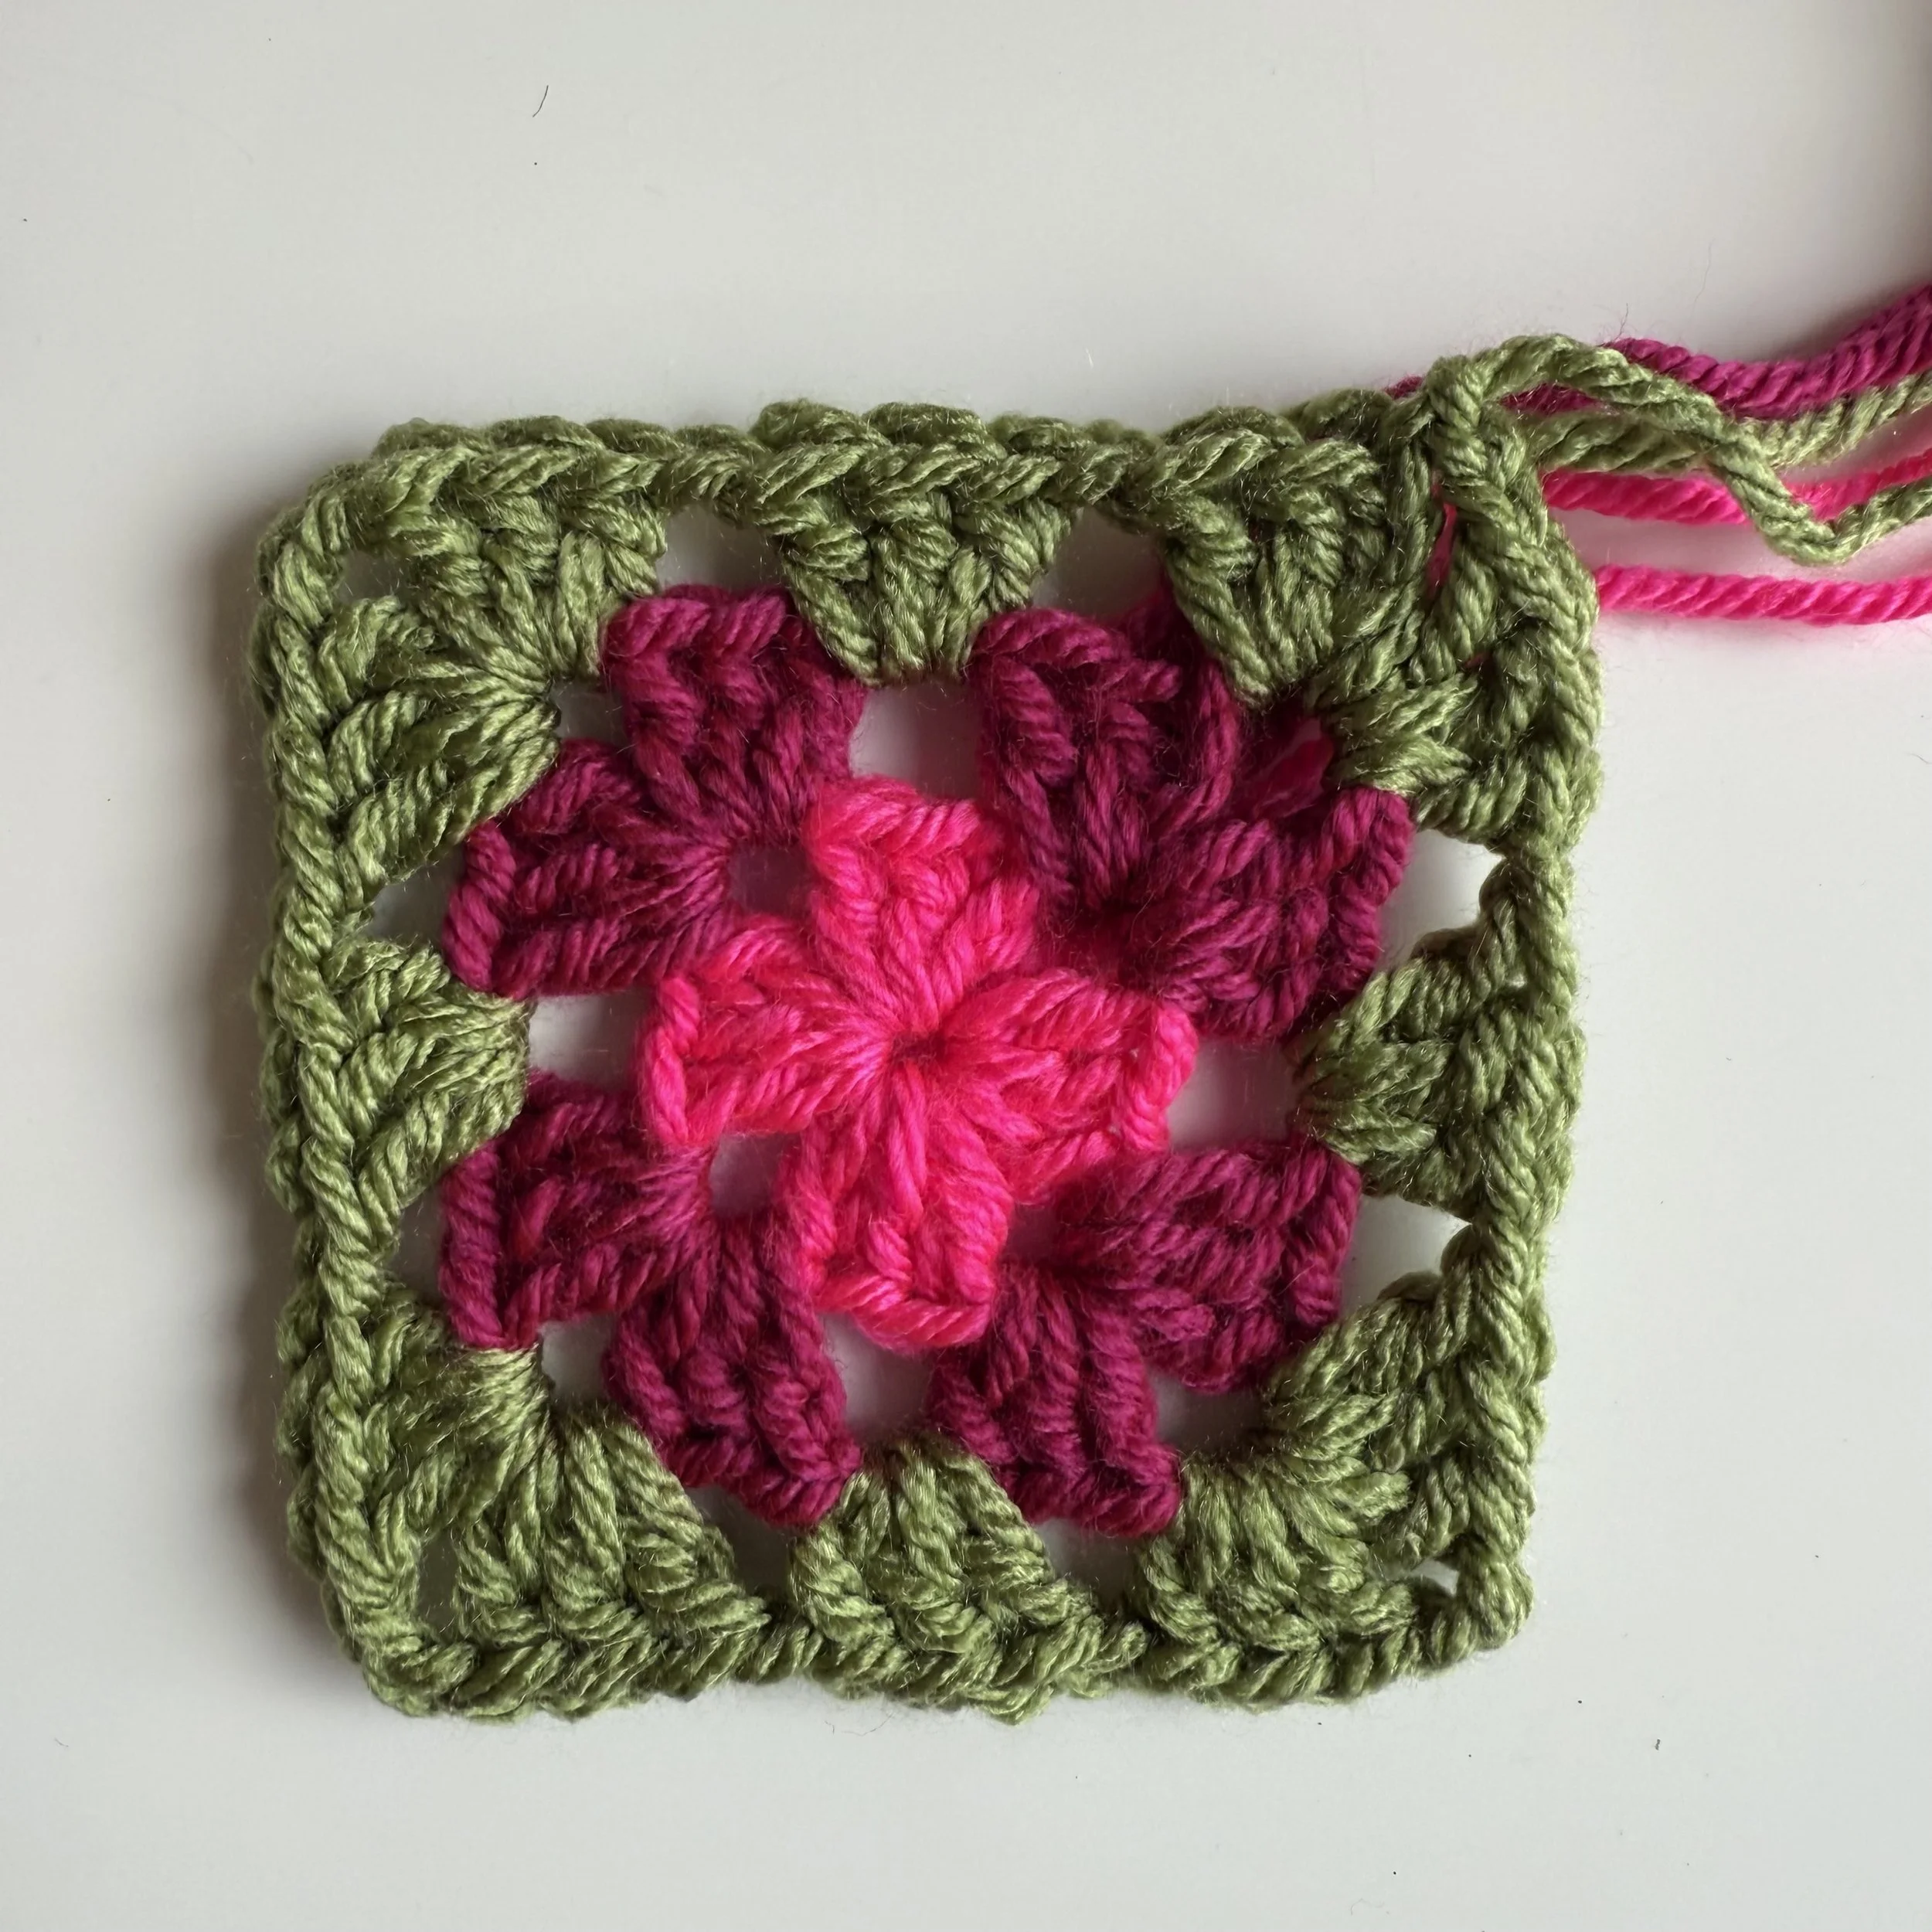
Repeat Round 3, and in each additional row, an extra cluster of 3dc and ch 1 sp will occur, because the square is increasing. As seen in the photos below. Make 8 (5” x 5”) granny squares for a worsted weight style.
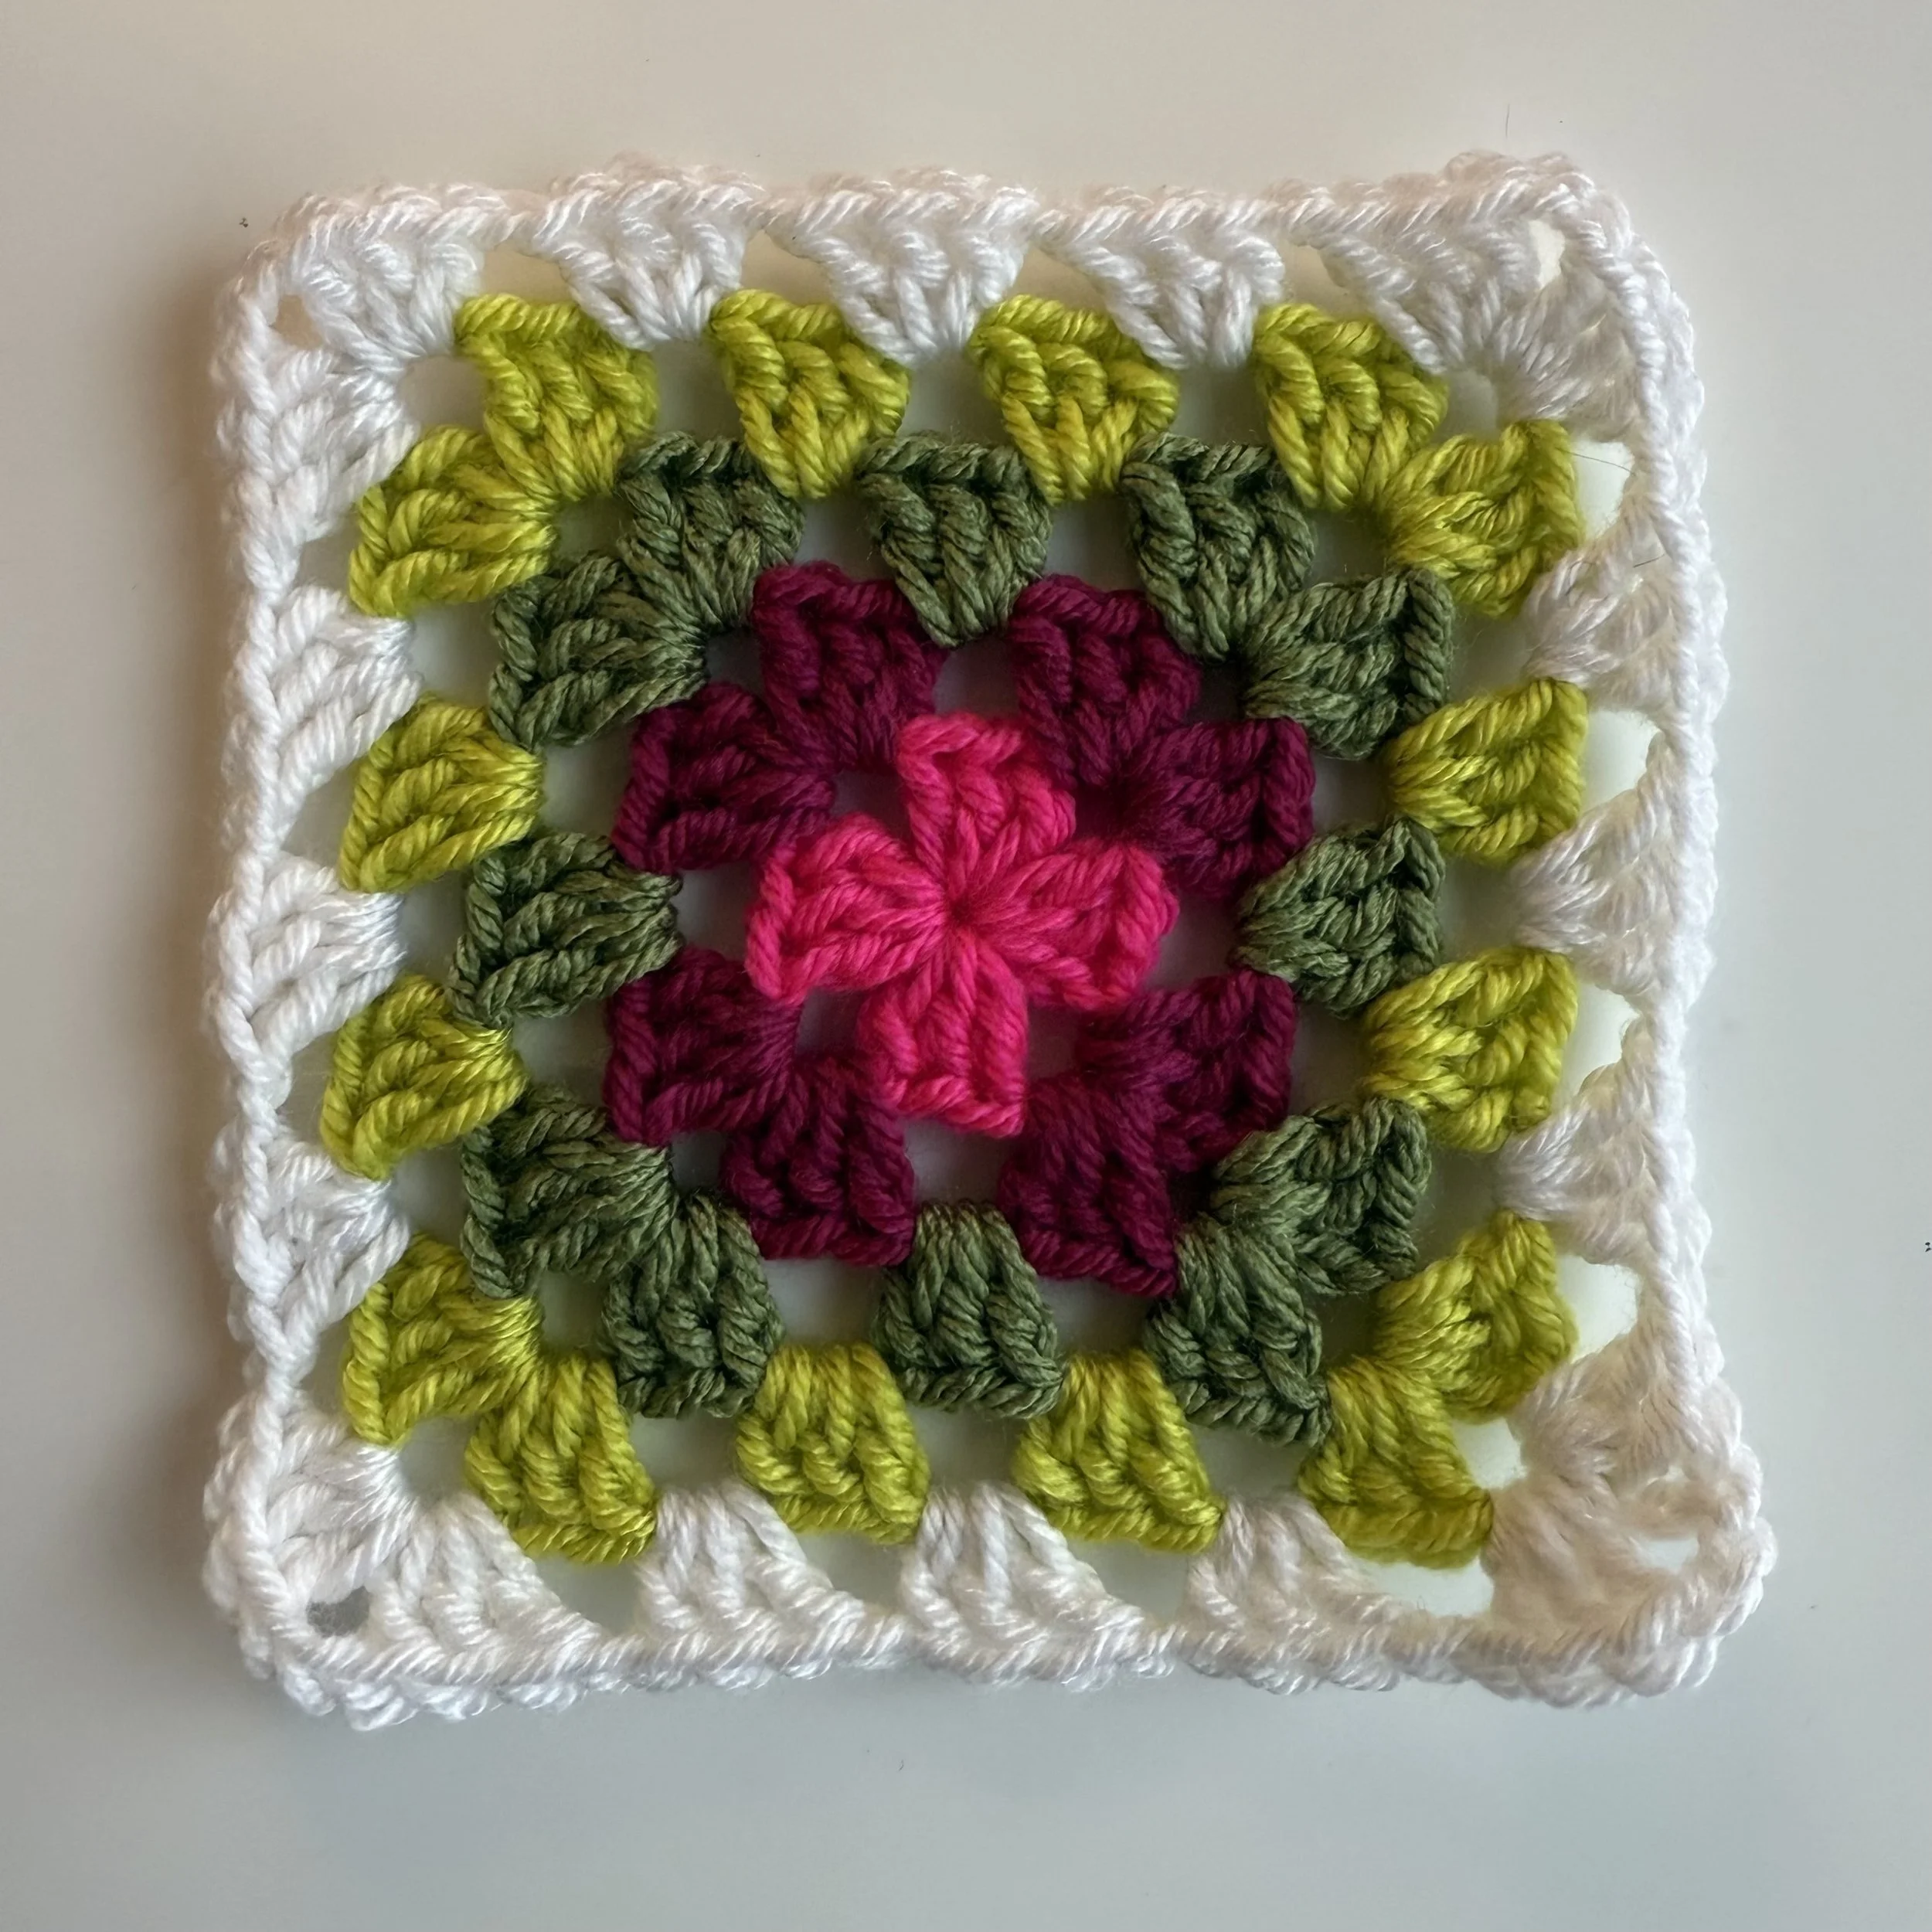
When the desired amount of rows has been made, hide all of the ends, and block the granny squares in your preferred method. Personally I use a steamer because I have a lot of projects at hand a lot of the time, and for quick project like this I think steam blocking is totally fine.
Now for the bunting chain…
With your chosen color for your granny squares to be displayed on, ch 12 and sl st into the beginning ch to creating a ring. Ch 20, and slip stitch along one edge of a granny square, and keep repeating this sequence until all of the granny squares are chained together, then make a final 32 ch, sl st into the 12 ch from the hook to make a final loop. Hide the ends.
For my chaining process I made the beginning 12 ch hanging loop, (ch 20, slip stitched a granny square on (4 times)), ch 20, then made a small loop of 10 ch in the middle, and repeated the first part of the bunting to the end, ending with the hanging loop of 12 ch. (As instructed above)
Then gave the whole thing a nice little steam block and hung in up on the shop shelf with small 3M hooks and added even more whimsy to the shop!
Go! Be free to make all the granny squares you want and make your life whimsical as much as you want! I want to see what you make too! Tag me on instagram @foxandharecreations or shoot me an email foxandharecreations@gmail.com. Have a beautiful creative day!